Set Up
Intuitive. Simple. Safe.
Setting up a Varioclip® projection screen is as simple as it sounds even for low utilization users.
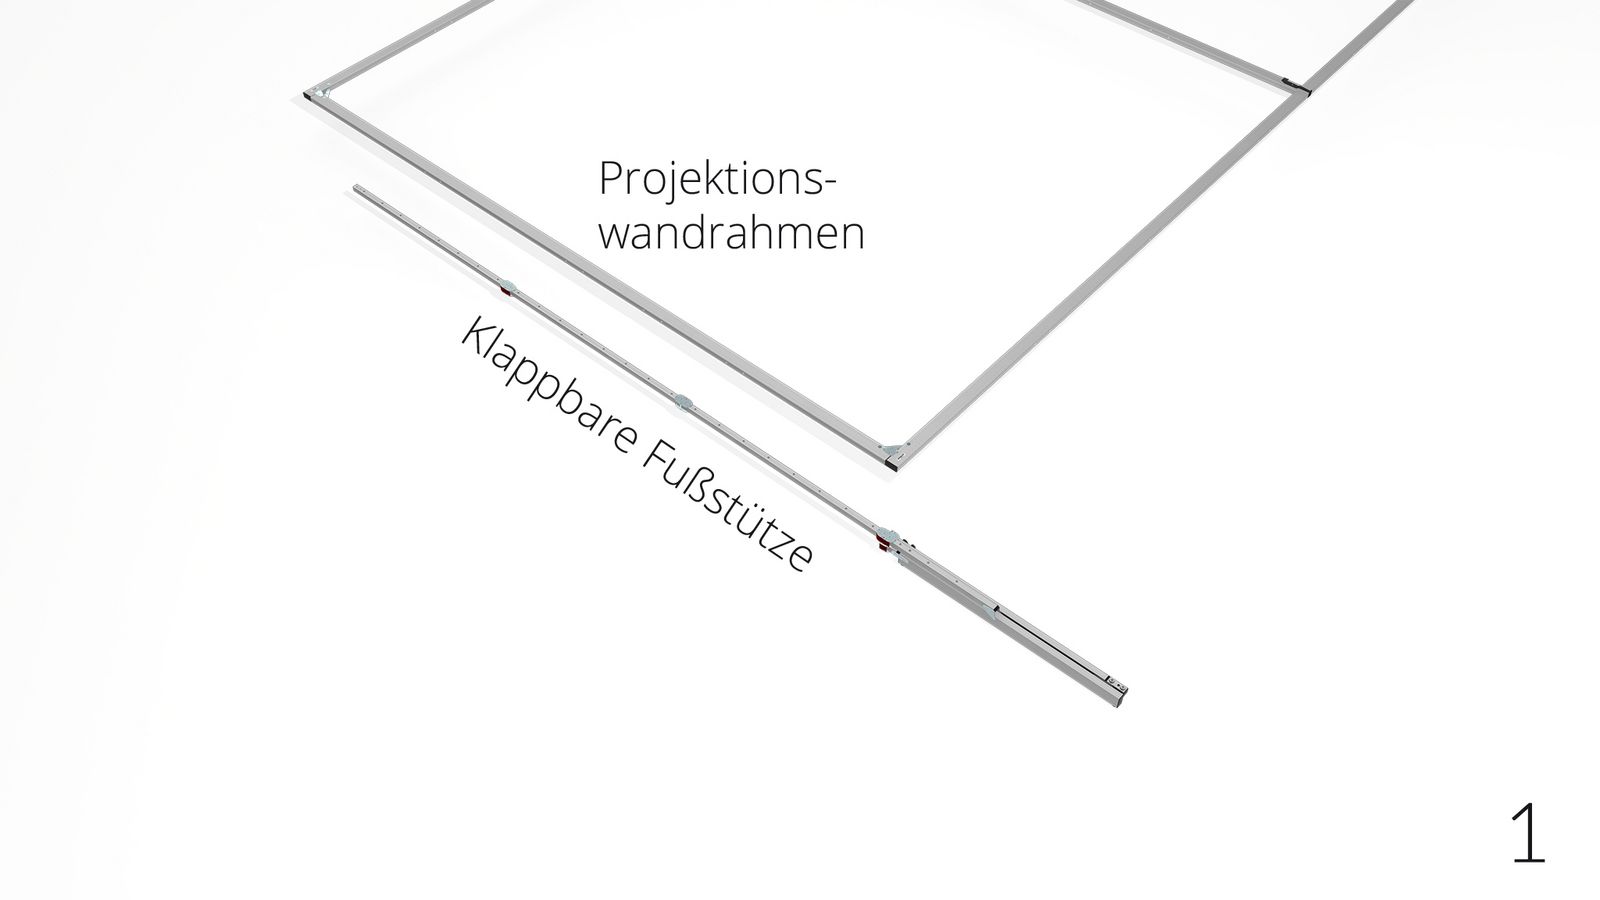
Frame set up
All components of the mobile projection screen are labeled.
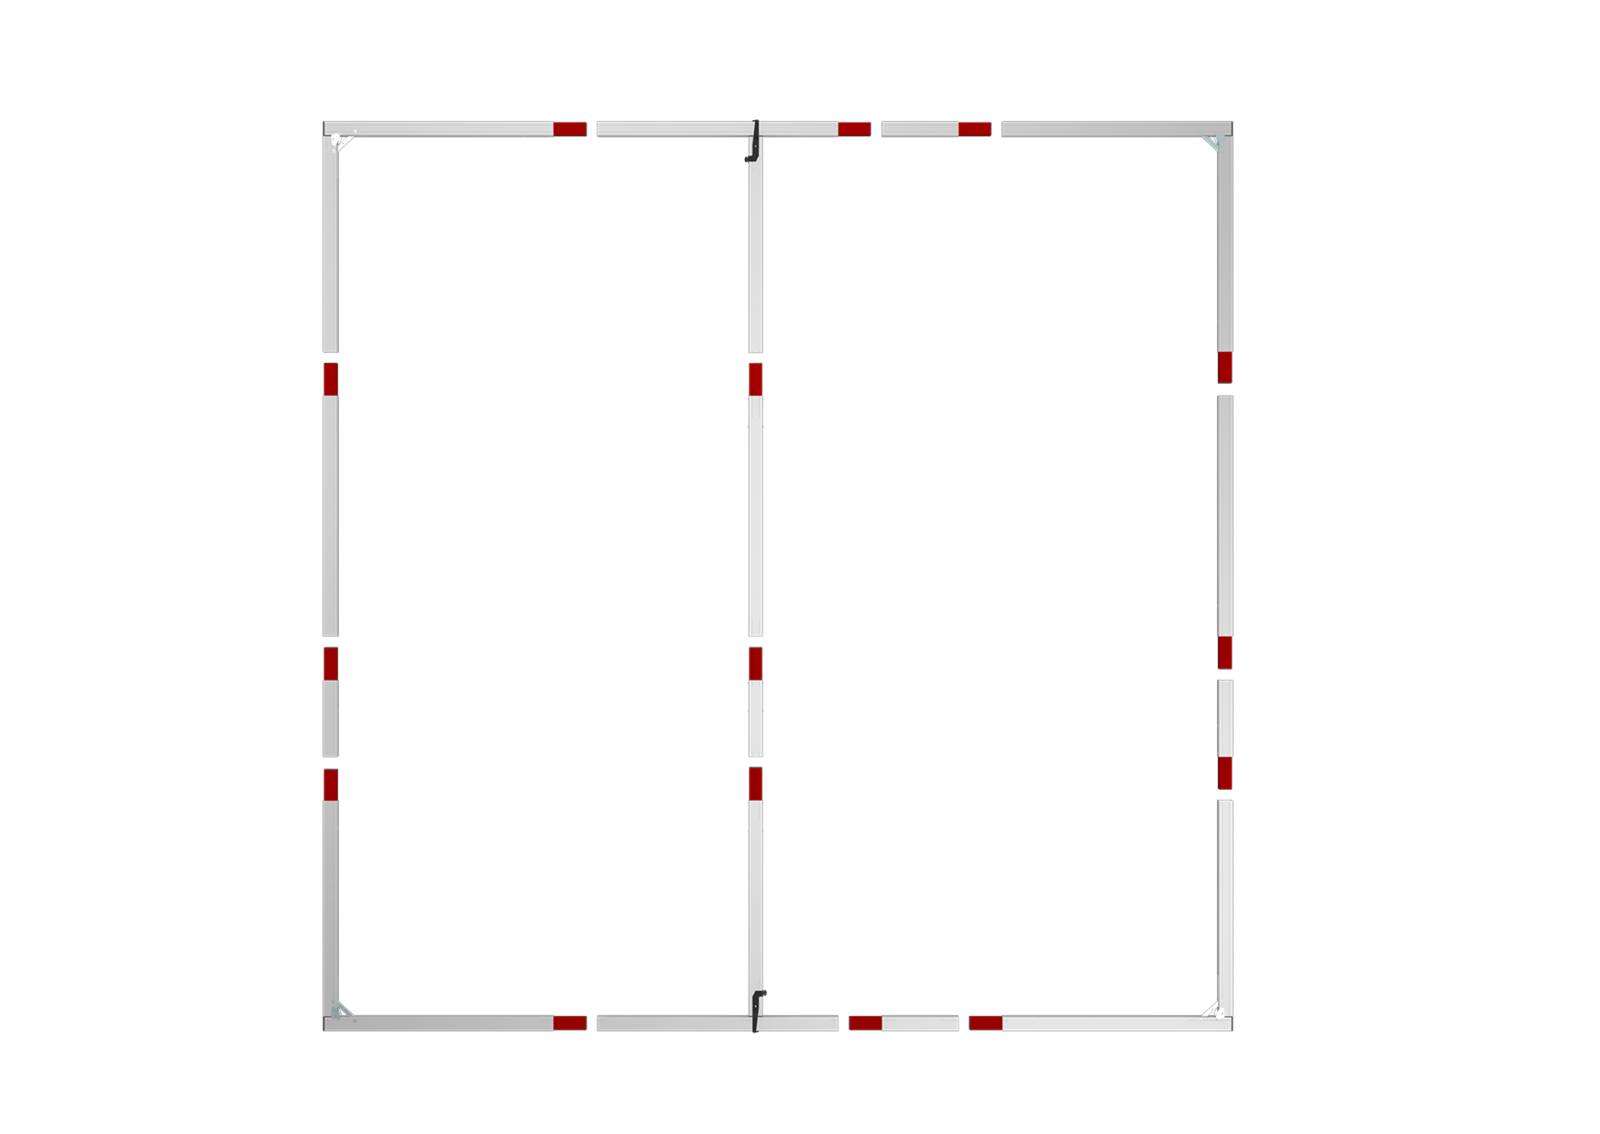
For assembly, start with the basic frame. Unfold the corner elements 1 to 4. Do not engage the shear joints now and lay out the components according to their labeling.
The standard elements 5 (110cm) and supplementary frame components 6 (below 110cm) have to be inserted according to their labeling (see sketch above).
In case of two supplementary frame components 6 and (6) per frame side, the standard elements 5 (110cm) have to be placed in between of the two supplementary frame components 6 and (6)
Engaging the shear joints ensures the maximum screen stability.
Connection types
Depending on the application and screen size three different connection types are available for VARIOCLIP.
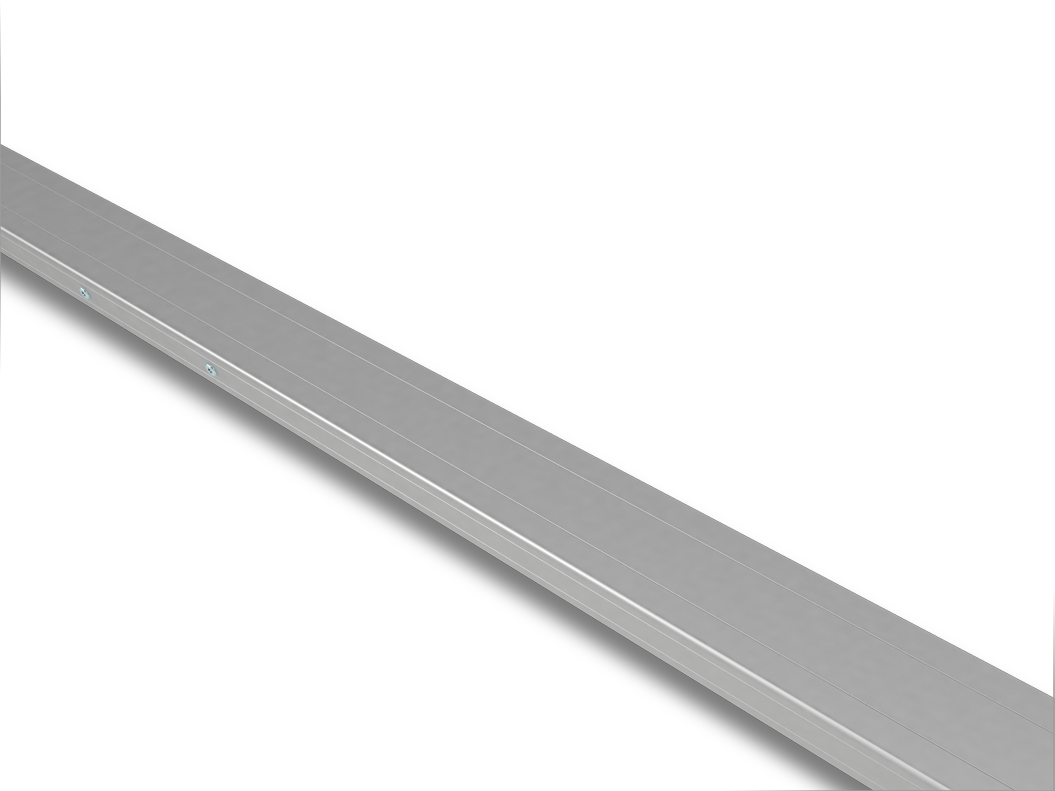

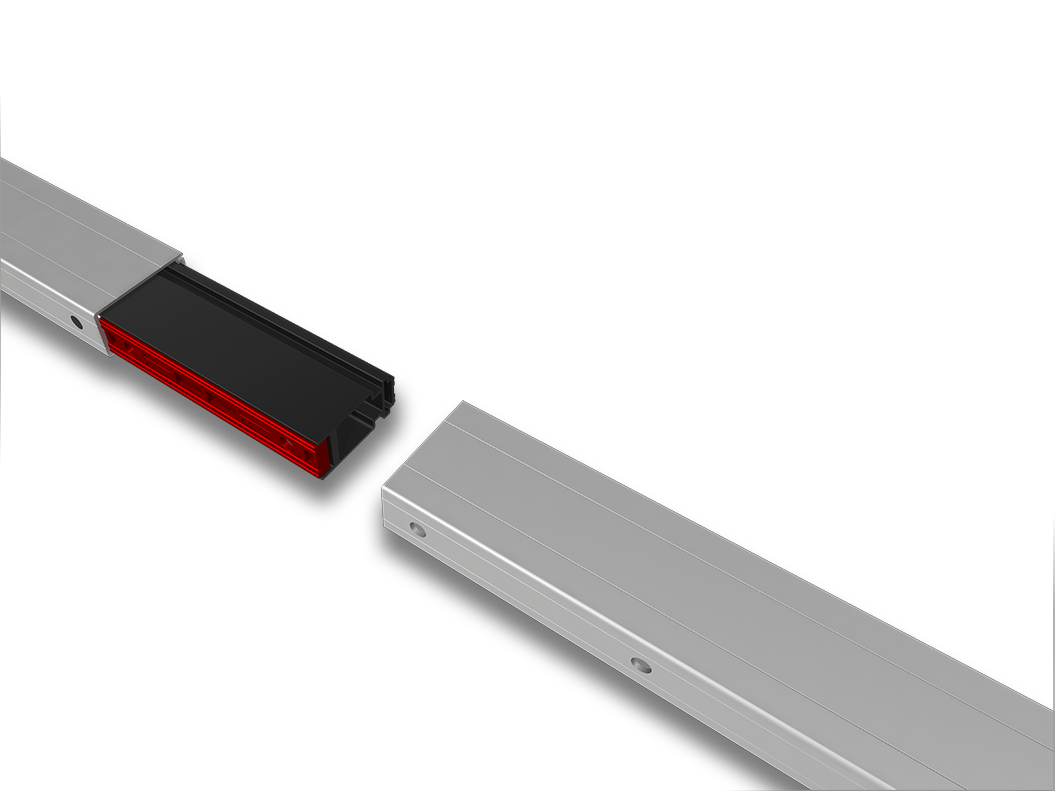
Varioclip
The quick and easy plug-in connection for small to medium sizes when installed with legs.
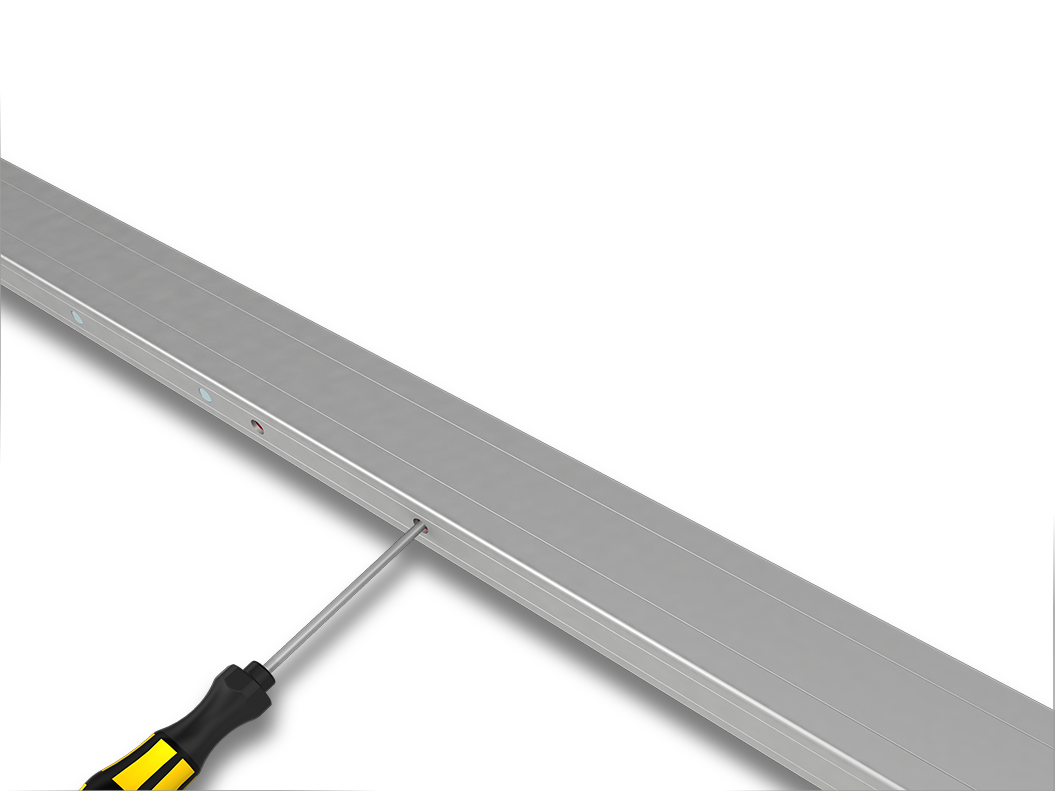
Varioclip clamp
The perfect profile connection for very large projection screens ensures optimum form stability and minimum deflection. The frame sections are joined together free of play by the clamp bar with the included Torx screwdriver.


Mounting
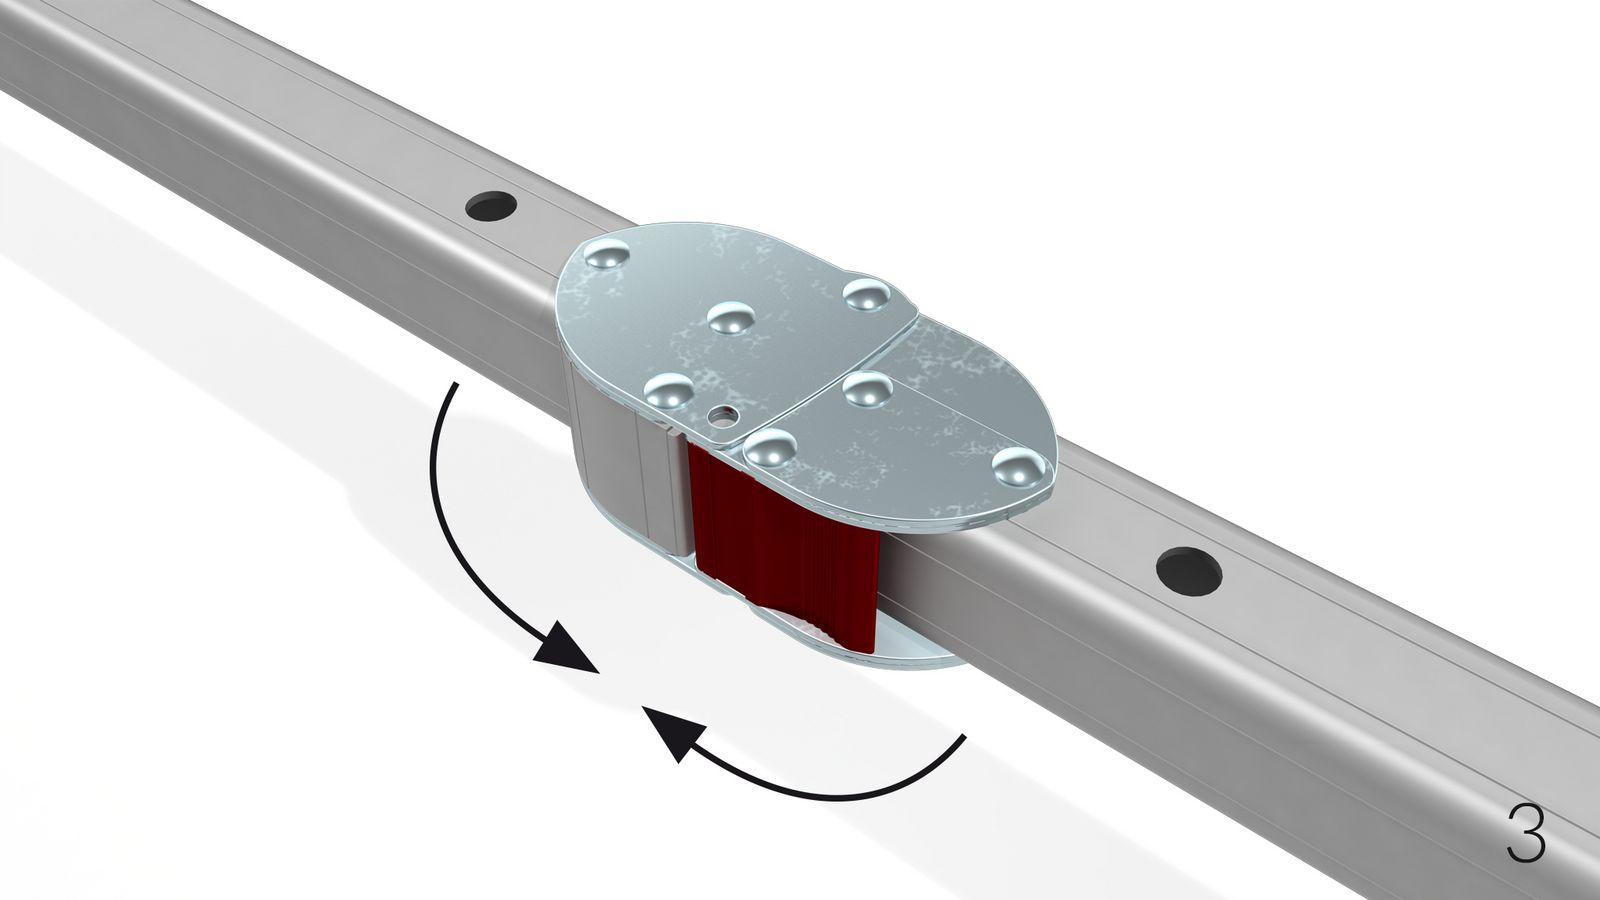
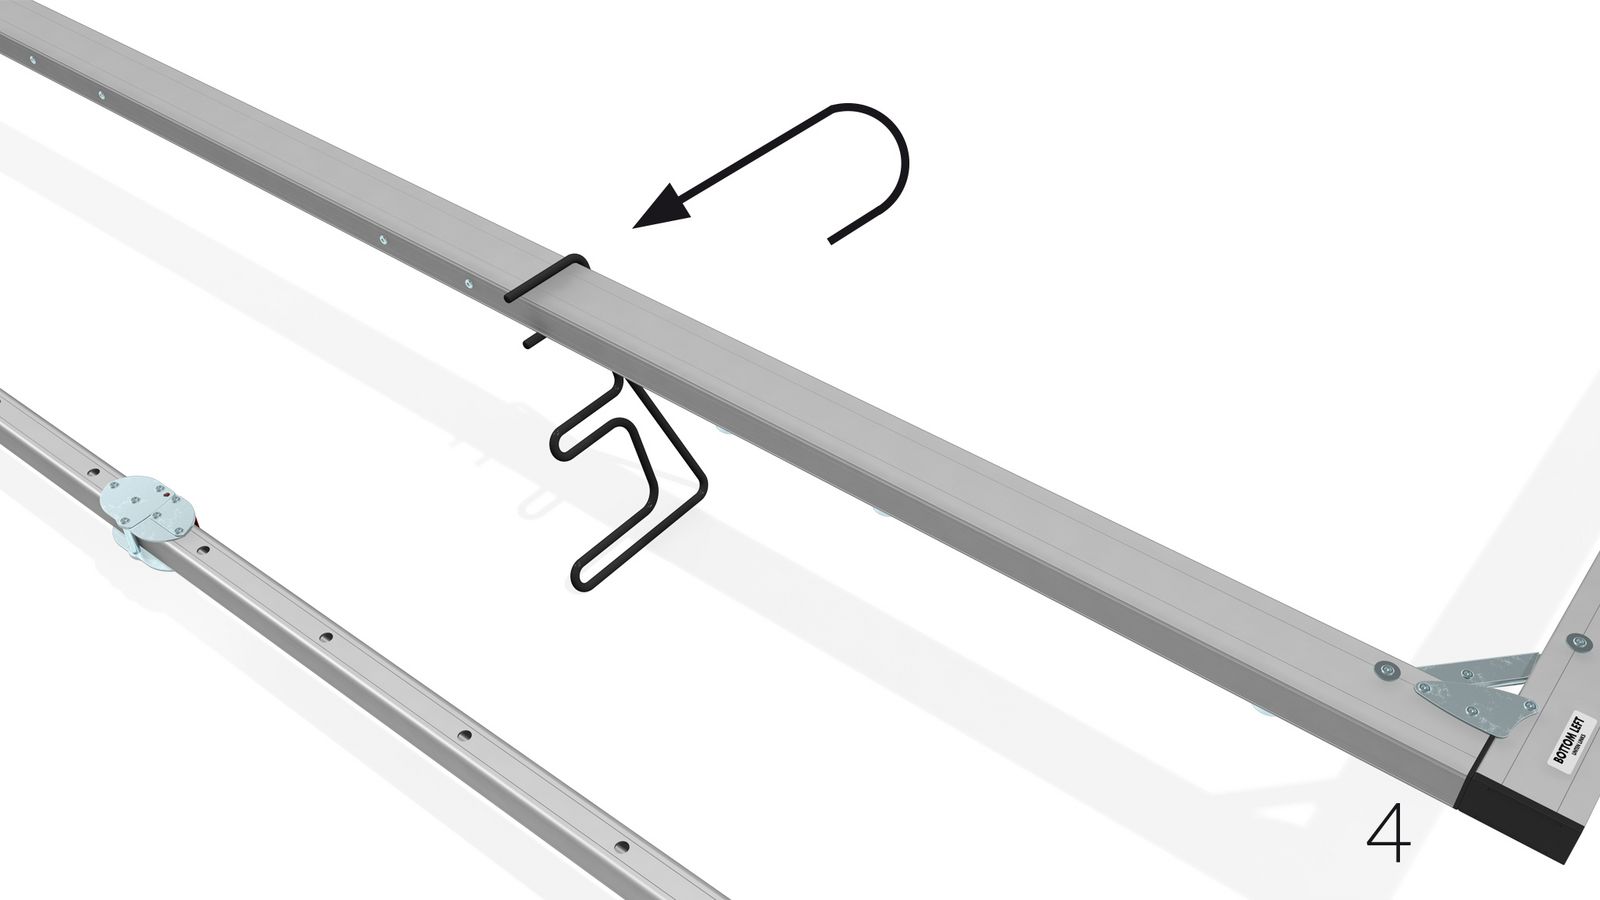
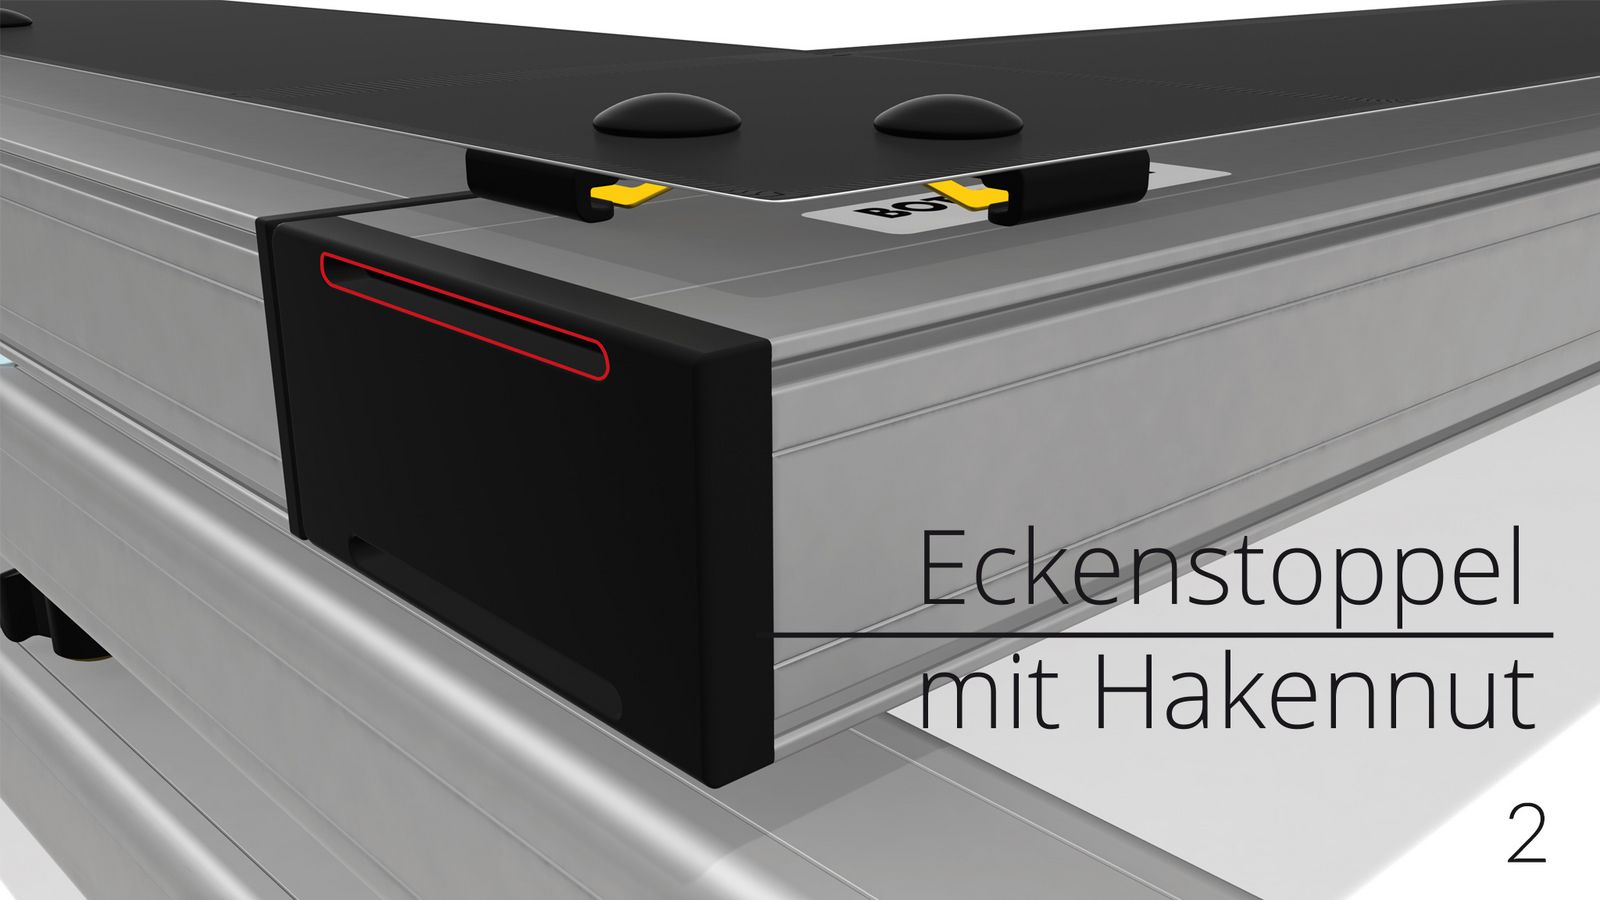
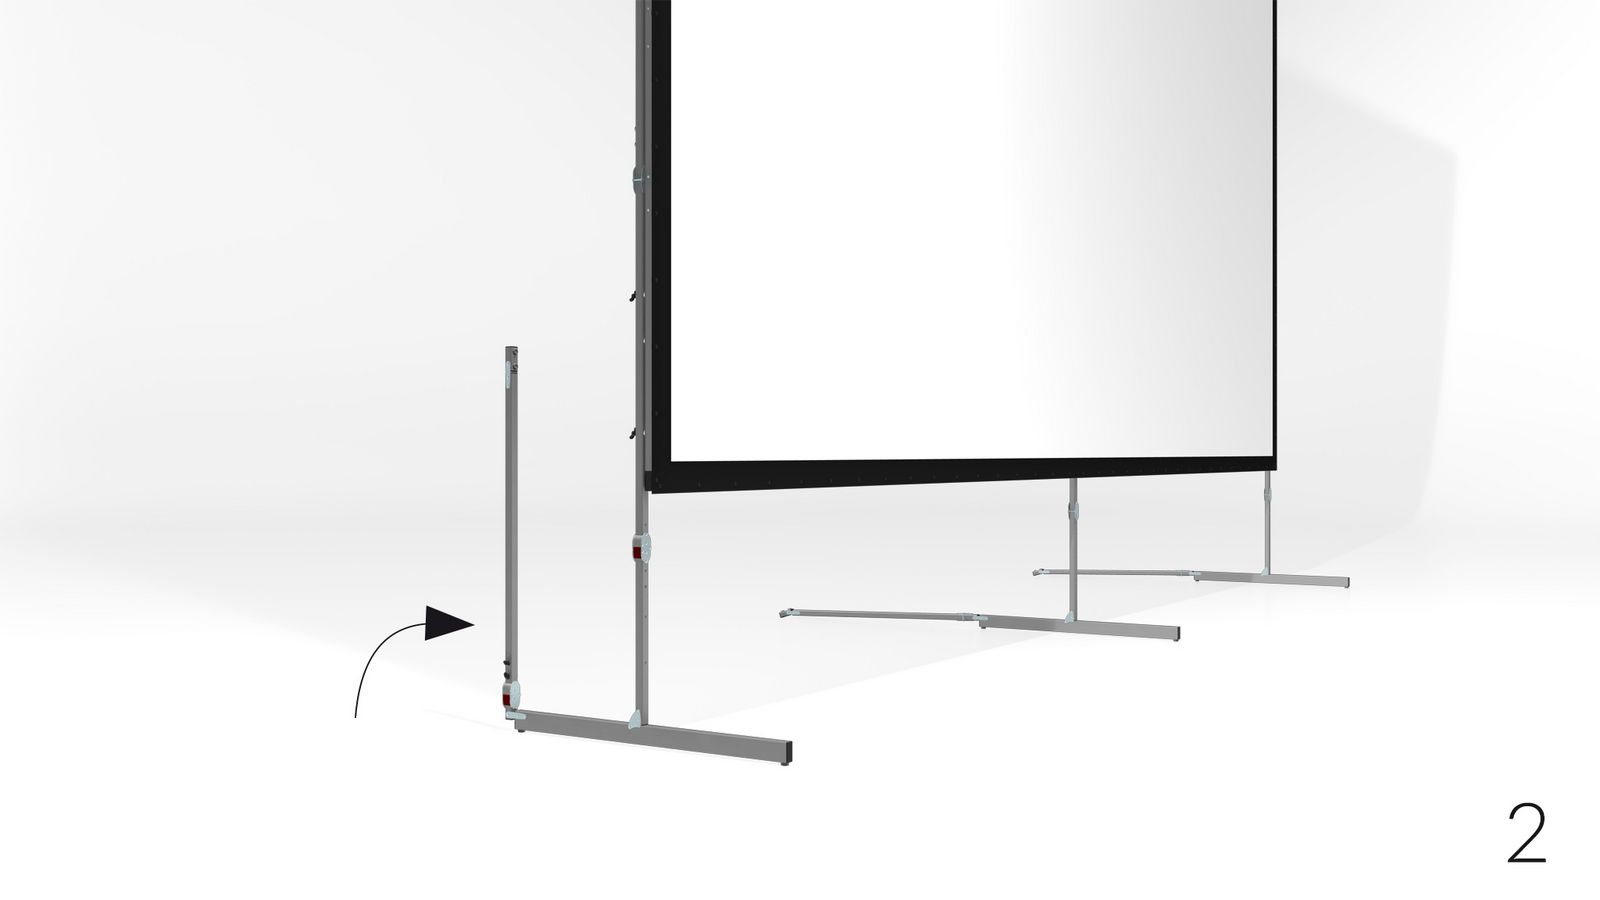
1 First open the vertical elements of the legs (with holes) 2-3 The snap joints engage automatically.
4 To secure the legs by a single person, we recommend the use of set up supports. Slide on with the upper round steel fork two set up supports each on the legs and center supports. Lay on the legs on the bottom bow and align the hole pattern matching the connection points at the desired
set-up height. (Please follow the separate instructions for set up support).
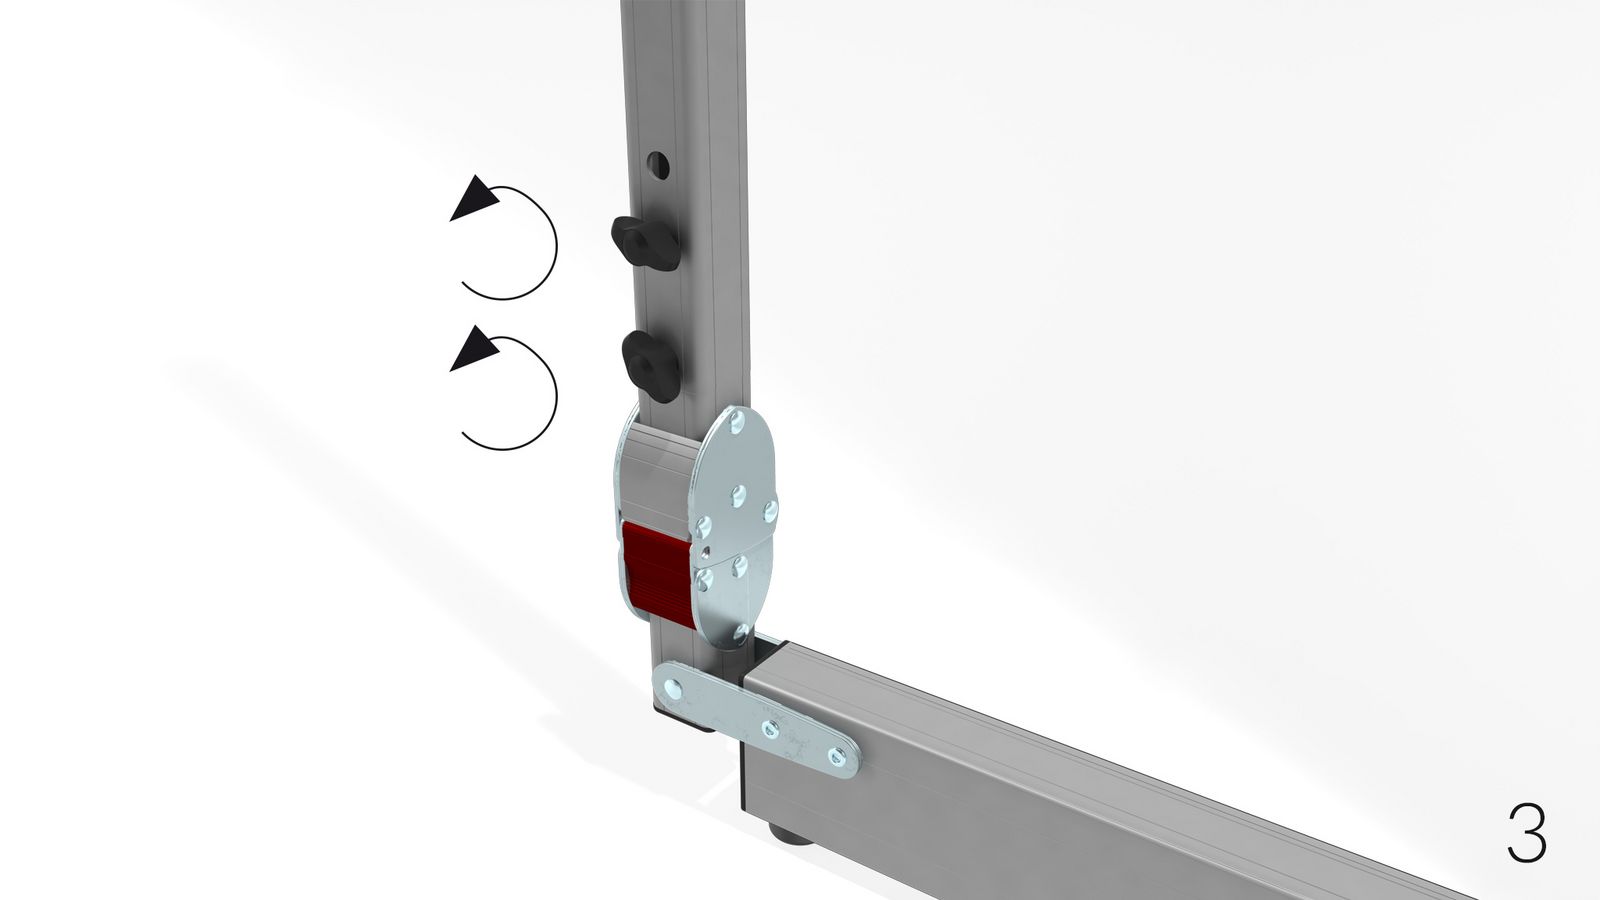
5 The feet are secured with two wing screws on the lower vertical frame element and the clamp connectors are attached at the top
of the feet.

Surface mounting
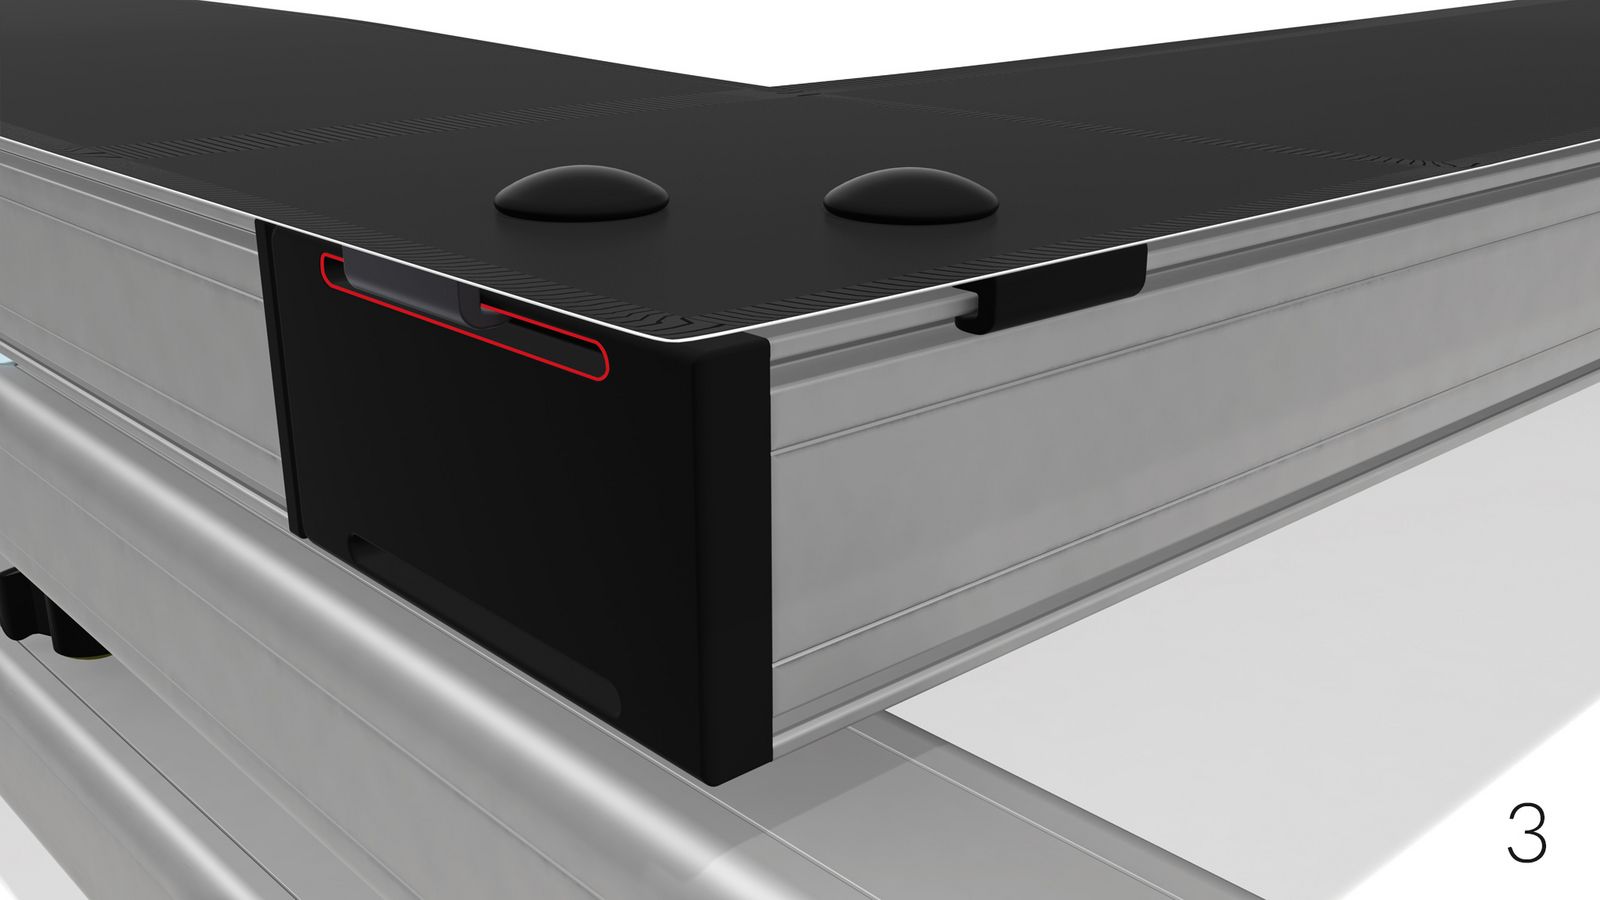
1 Lay out the surface on the frame with the label „OBEN-TOP“ corresponding with the upper frame bar.
2-3 Hook the first QUICKCLIPTM into the slot of the corner plug and additionally a second QUICKCLIPTM
along the vertical and horizontal profile groove. Repeat this step according to the numbering in picture 1.
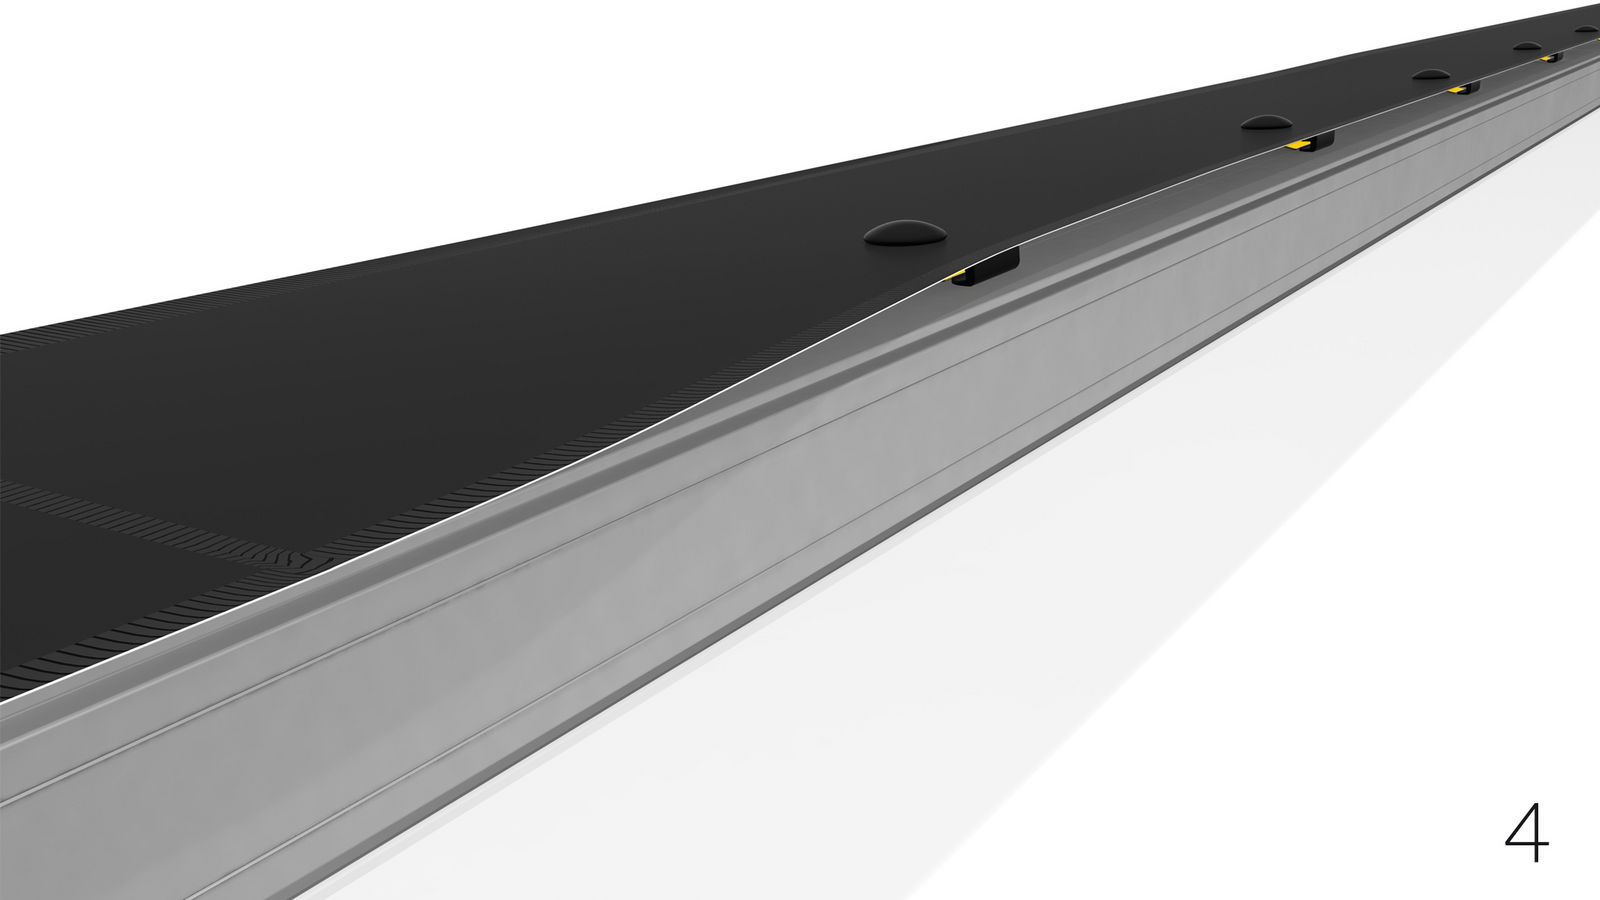
4 Finally stretch all the remaining QUICKCLIPTM over the profile edge. The QUICKCLIPTM snap into place
automatically.


Set up
1 Lift the projection screen with one person at each of the top corners and put it up by supporting the screen along the vertical frame elements. To avoid mechanical overload and damage of the screen elements and legs with large screens or high set-up height, the screen has to be raised with an appropriate number of persons or rather by using hoisting devices.
2 Raise the telescopic support.
3 Untighten the wing screws.
4 Bolt the telescopic support with the wing screw M8x50mm (yellow).
5 Finally retighten the telescopic support clamp.
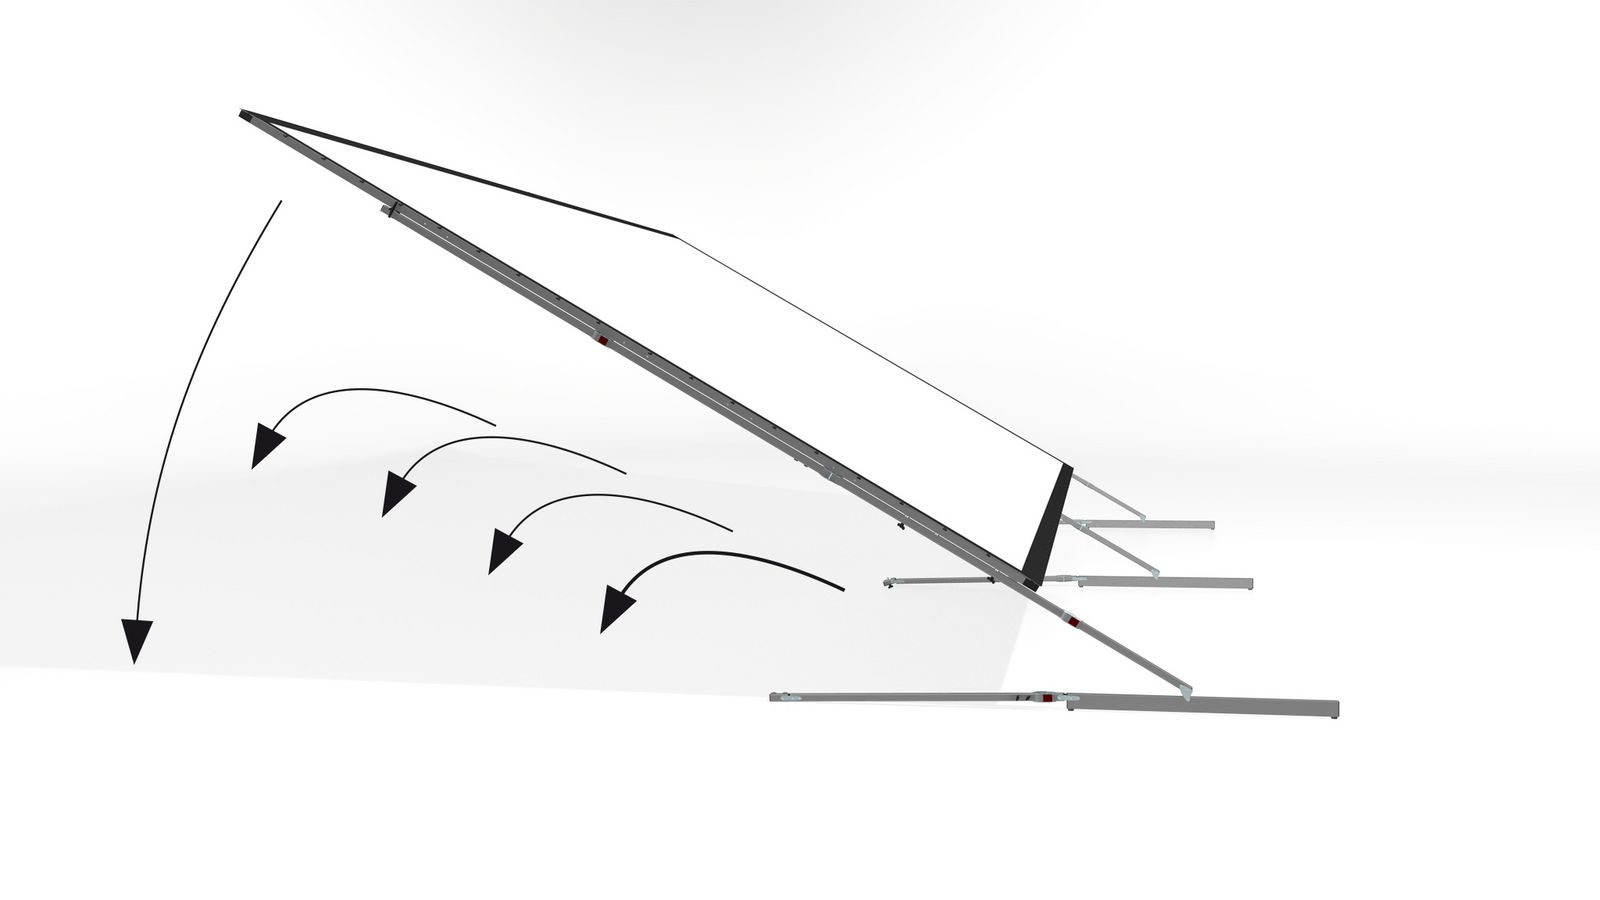
Break down
Open the shear joints and telescopic leg supports with one person next to each of the foldable legs. Bring down the screen by supporting the screen along the legs and vertical frame elements towards the top corner edges.
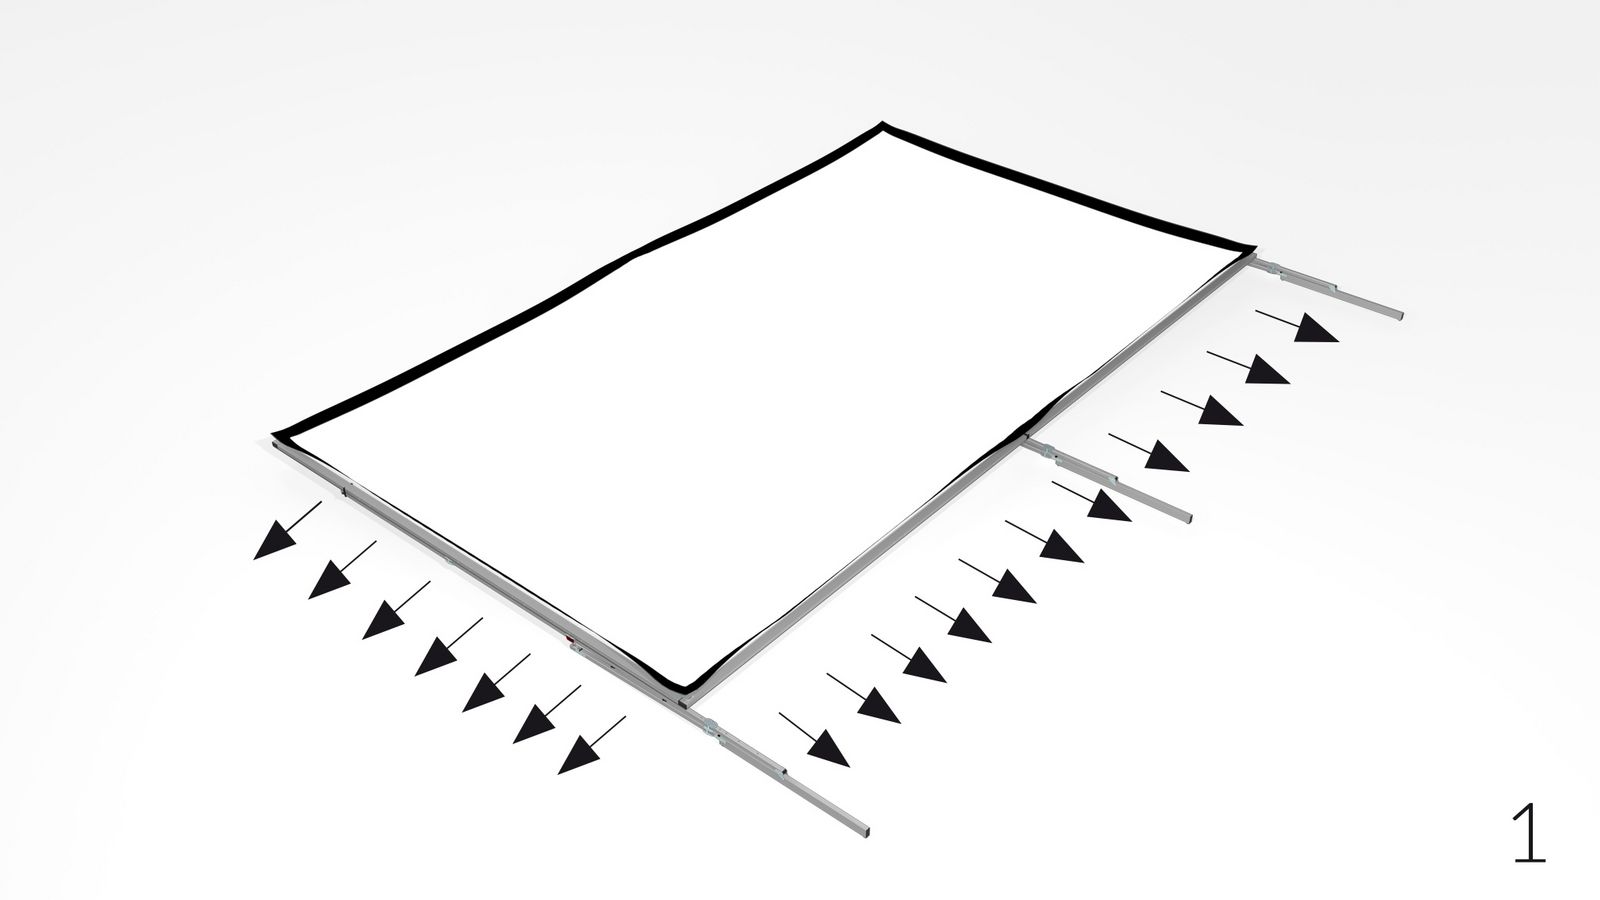
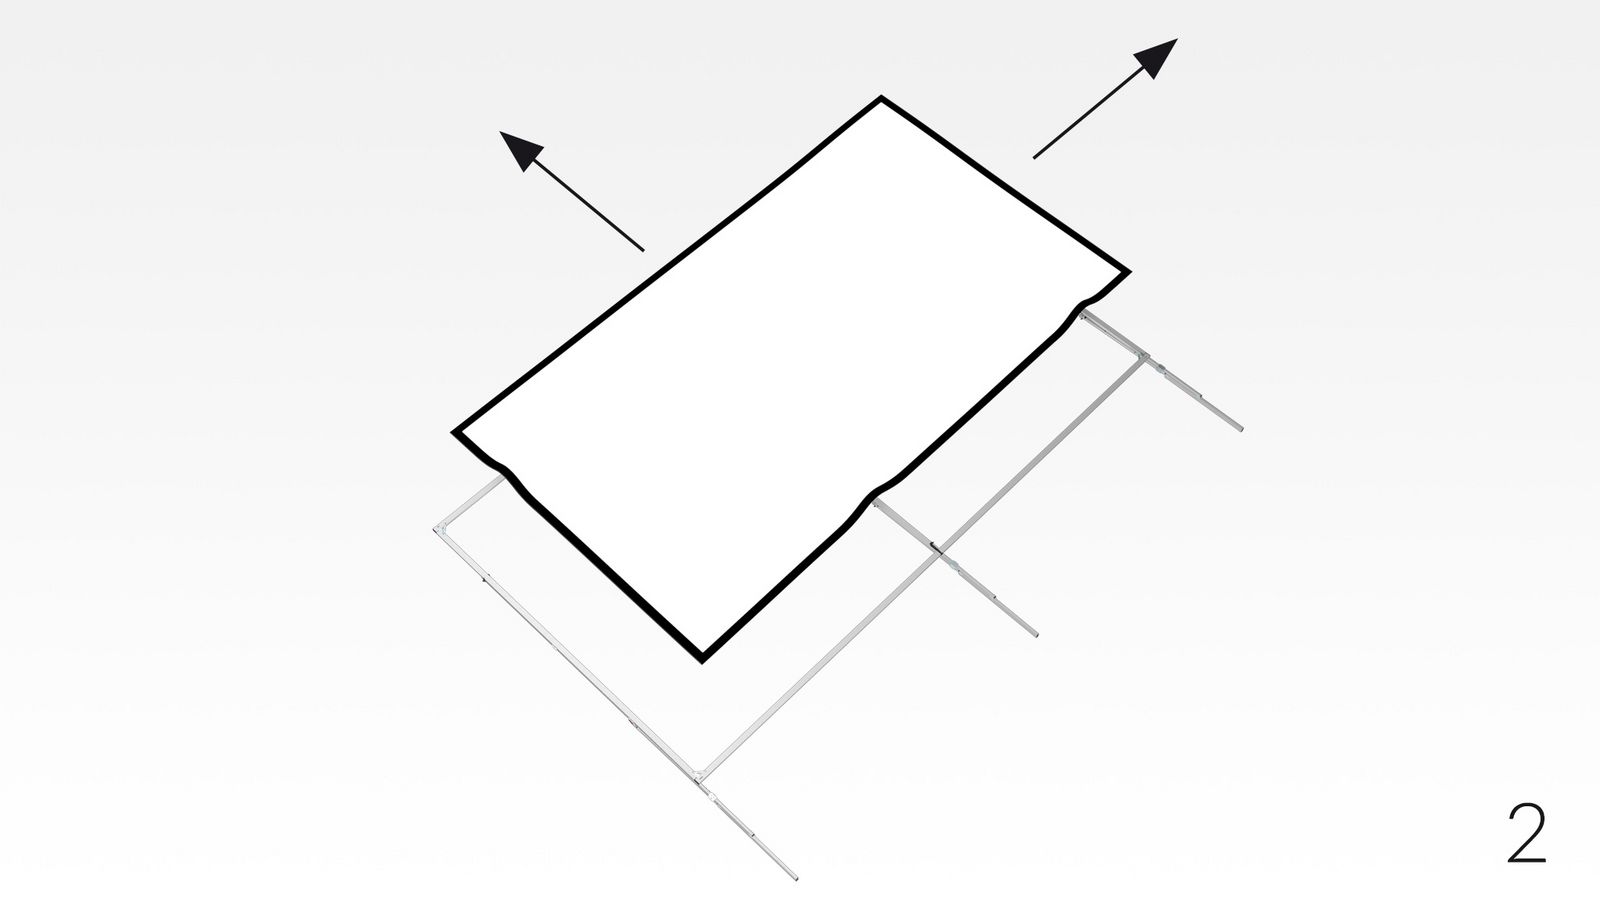
1 To detach the projection surface you have to remove the QUICKCLIPTM on one vertical and one horizontal frame side only.
2 Now the surface can be pulled off the frame easily.