Set Up
Intuitive. Simple. Safe.
Setting up a MonoClip projection screen is as simple as it sounds even for low utilization users.
Set up MonoClip 64
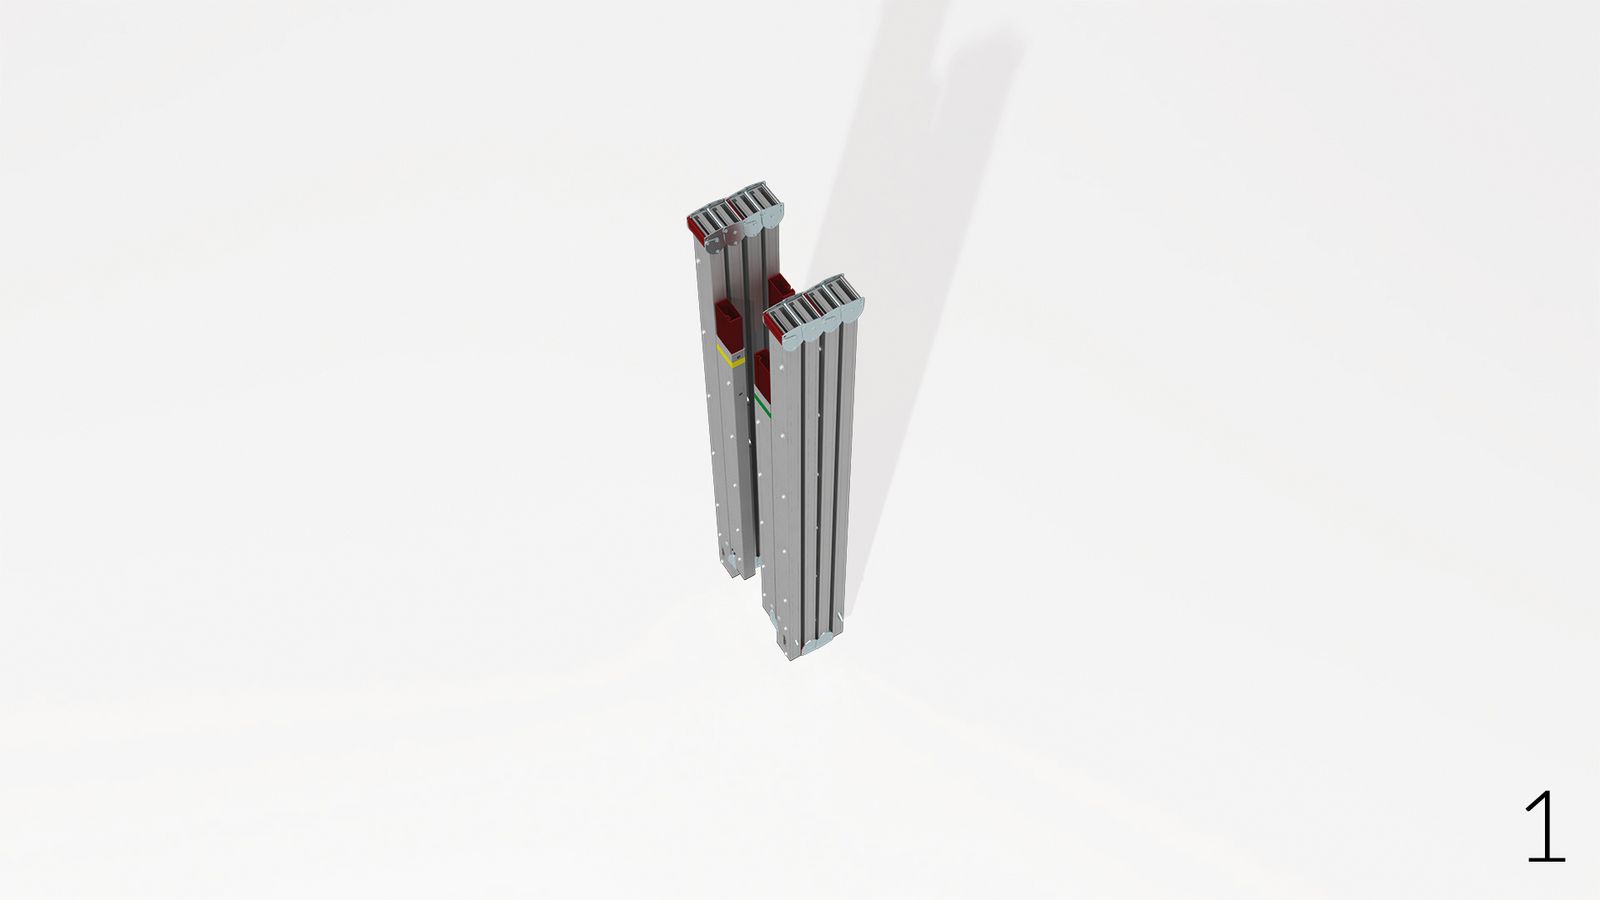
Set up MonoClip 64
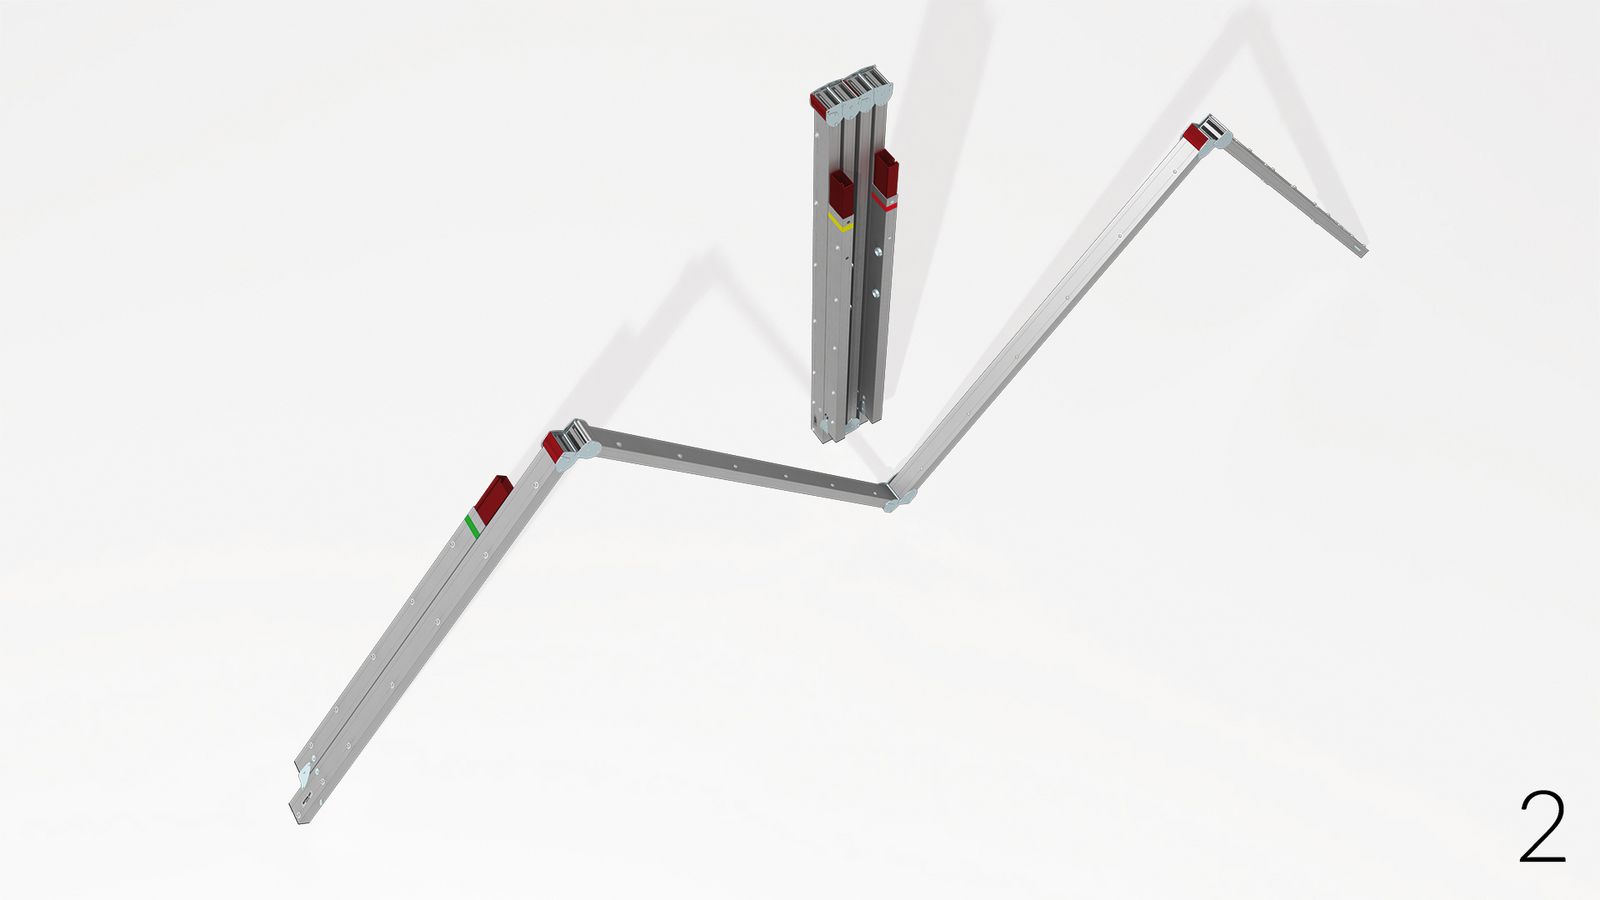
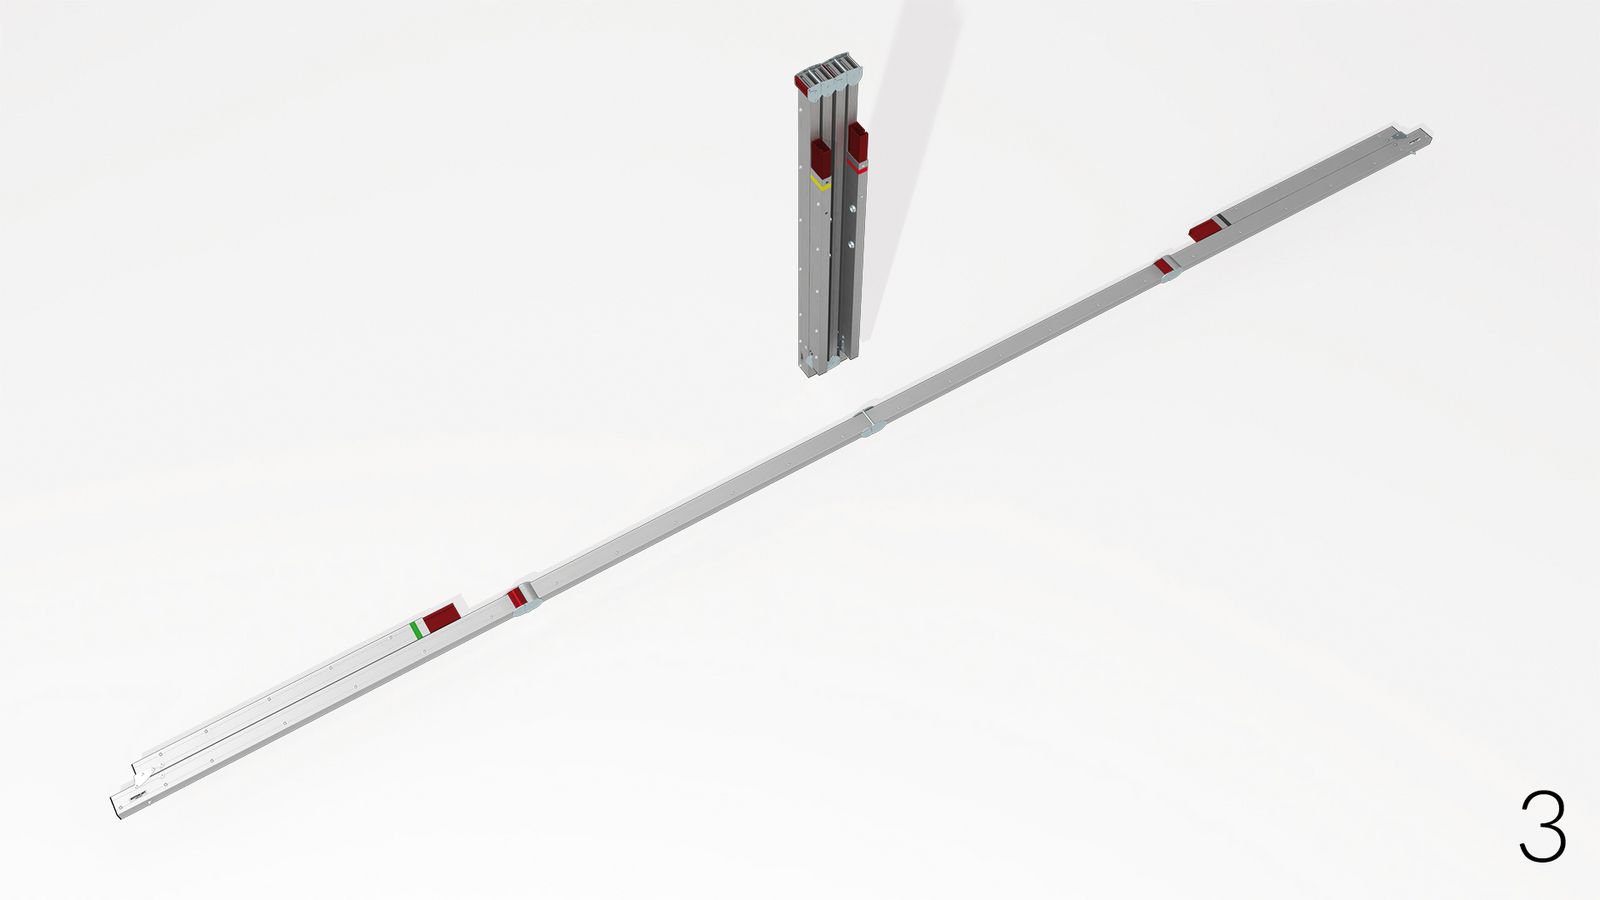
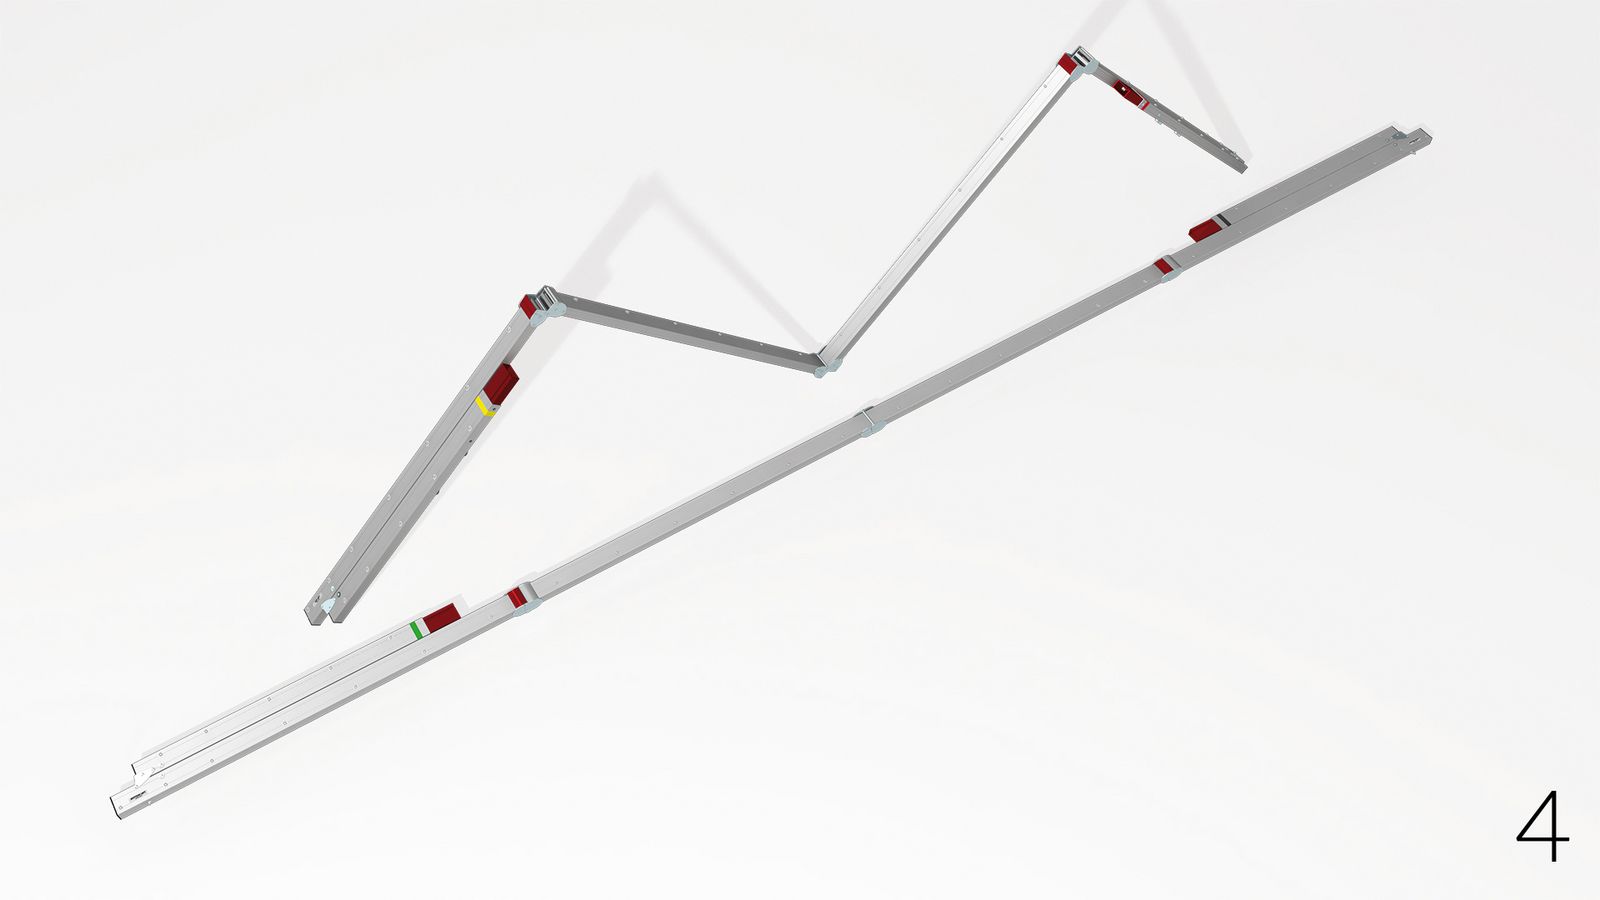
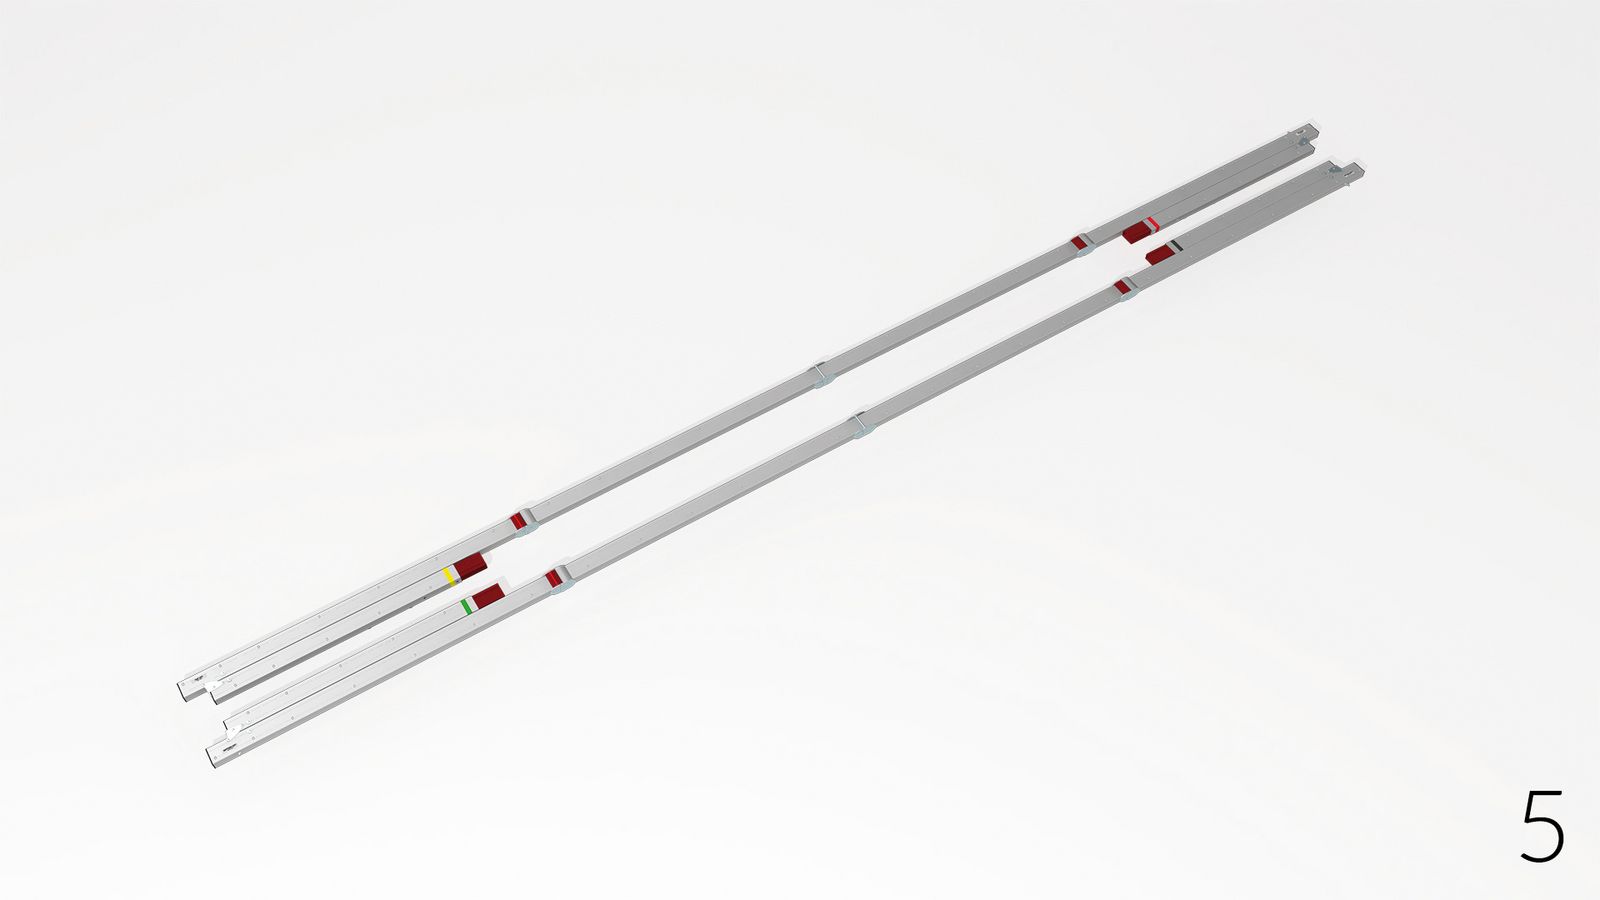
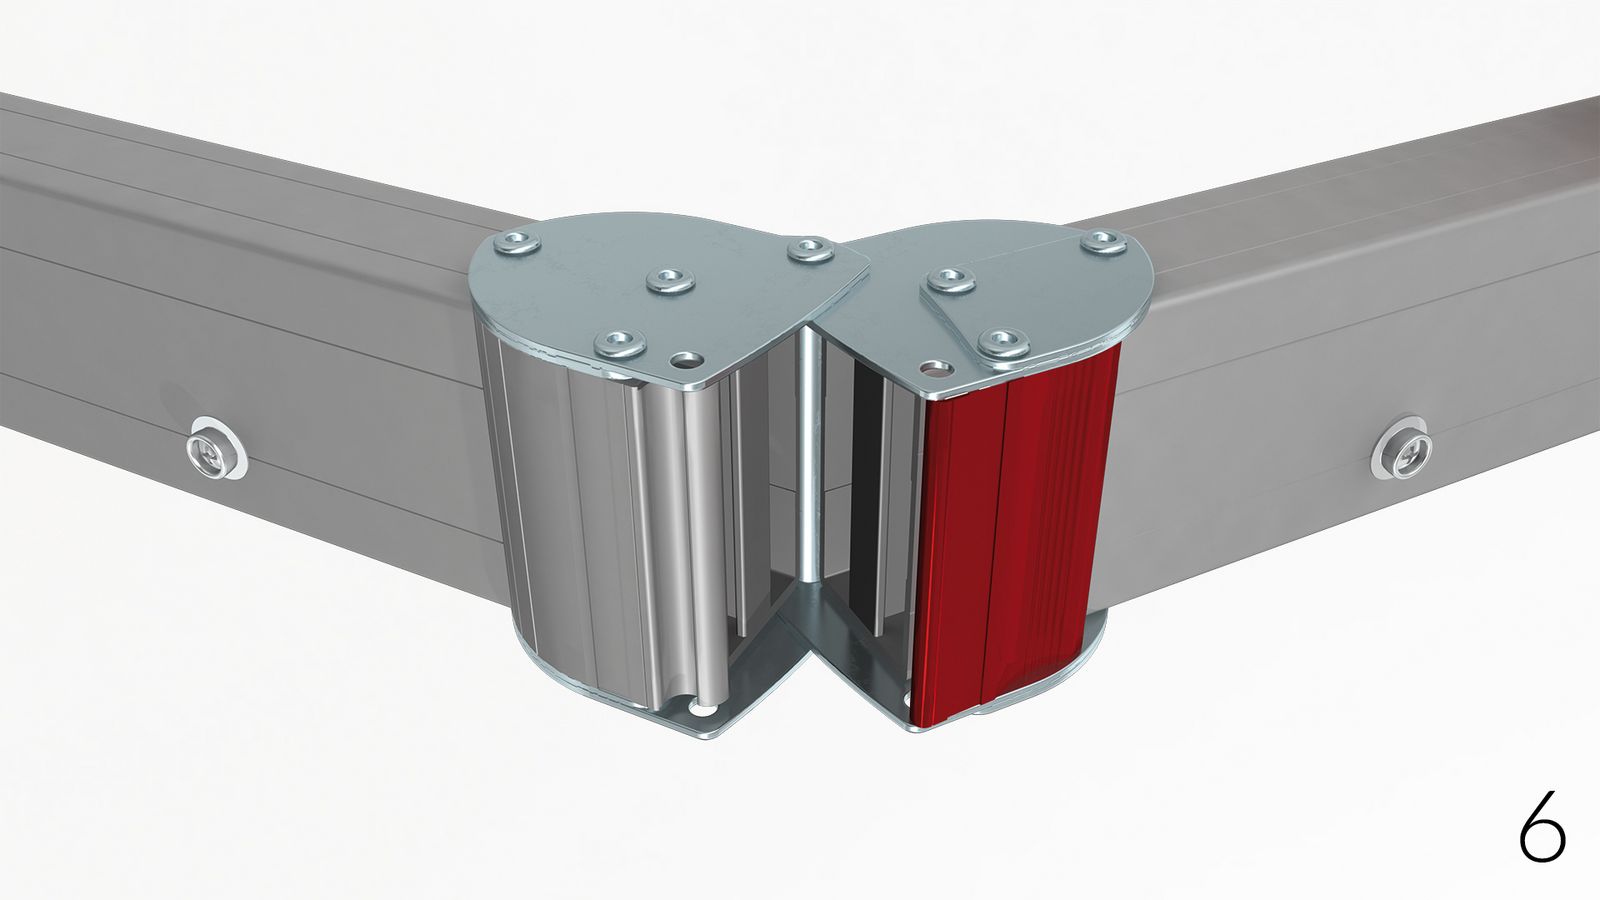
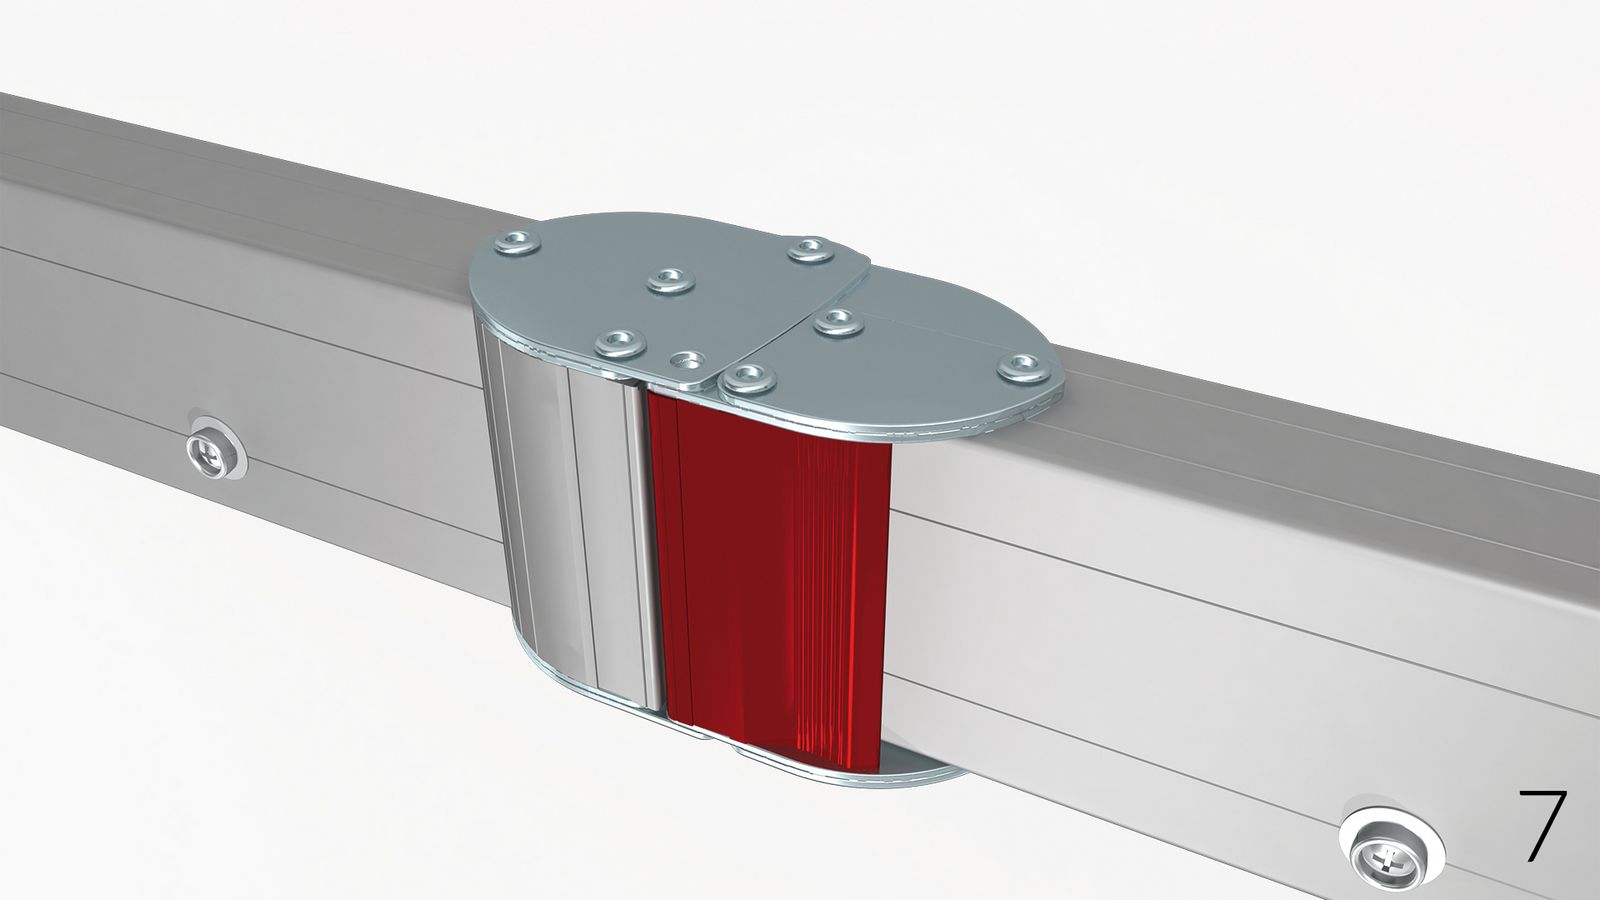
Open the folded horizontal frame elements (top and bottom) and the snap joints engage automatically.

Surface mounting
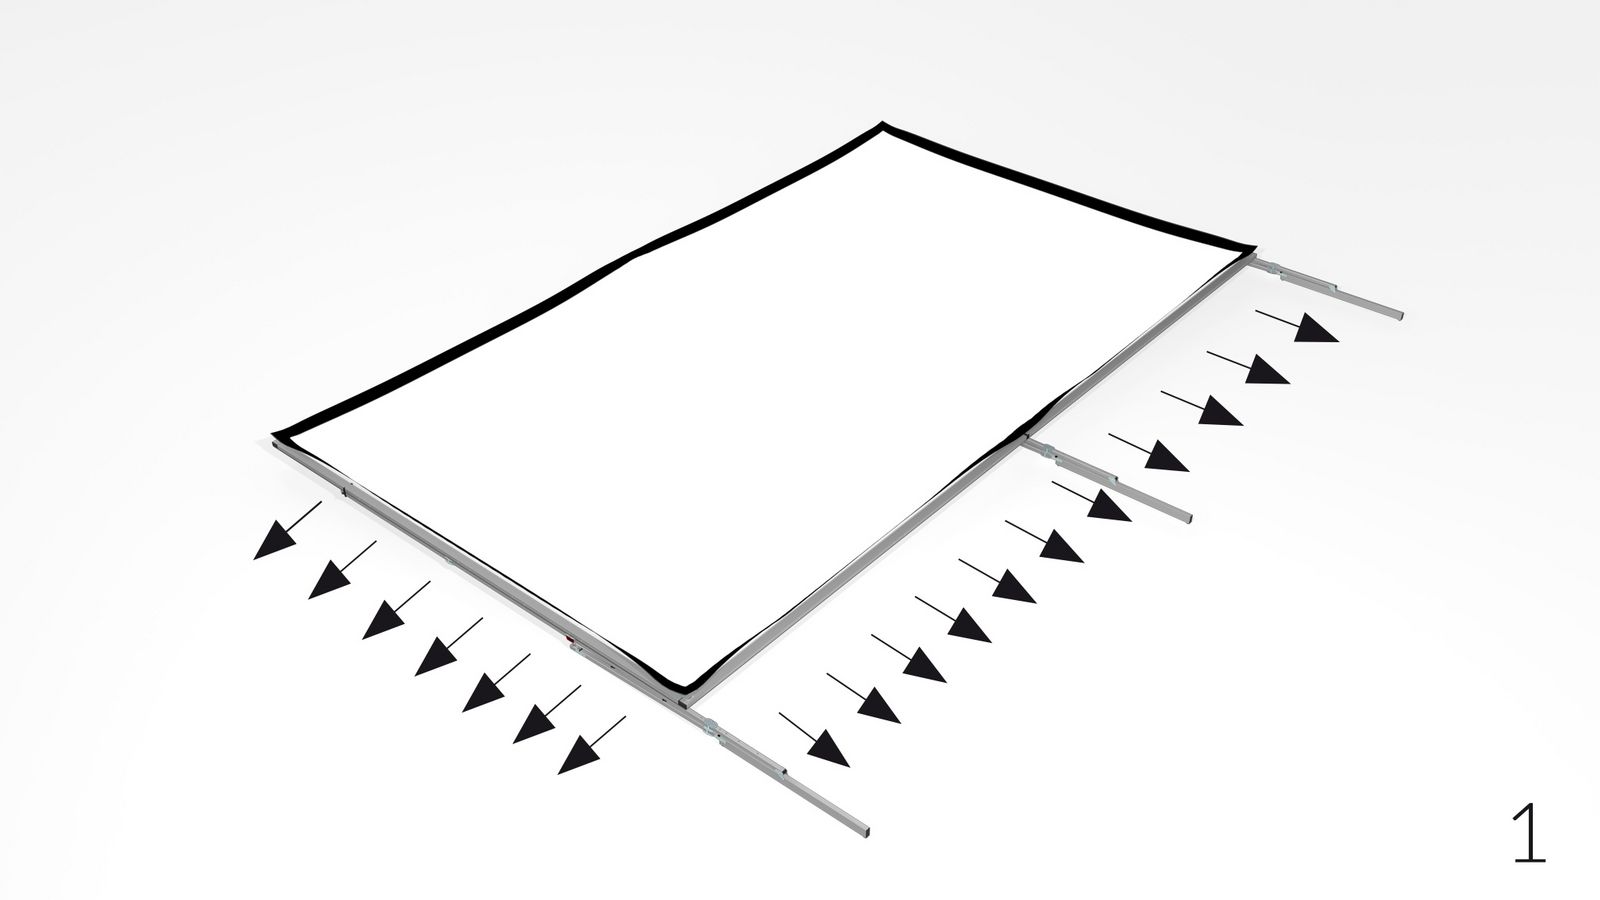
1 Lay out the surface on the frame with the label „OBEN-TOP“ corresponding with the upper frame bar.
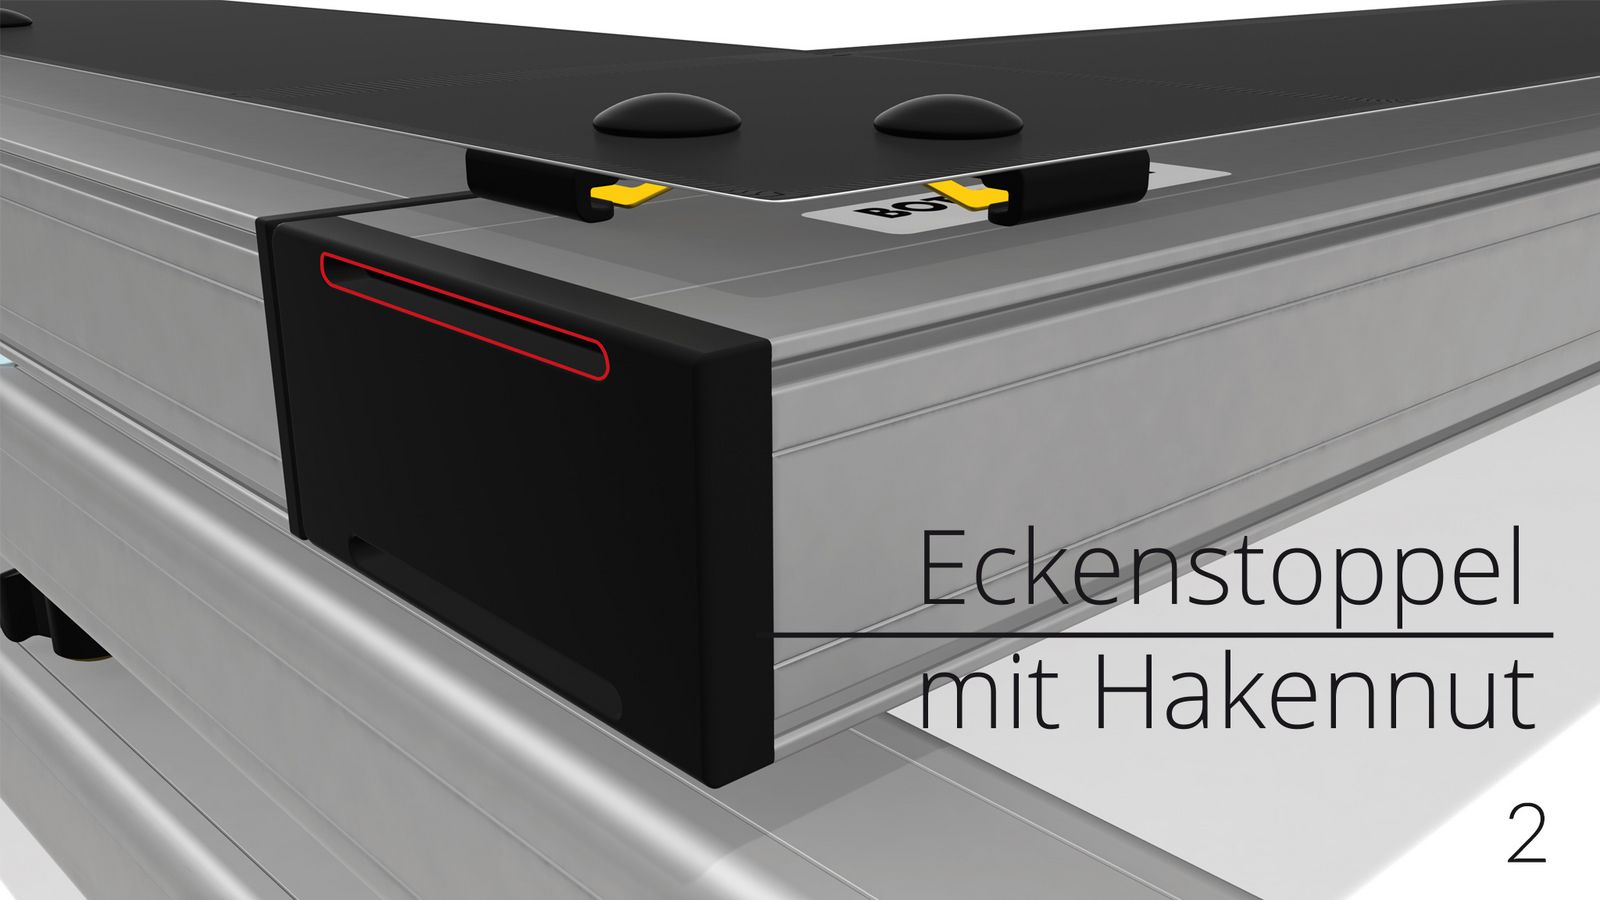
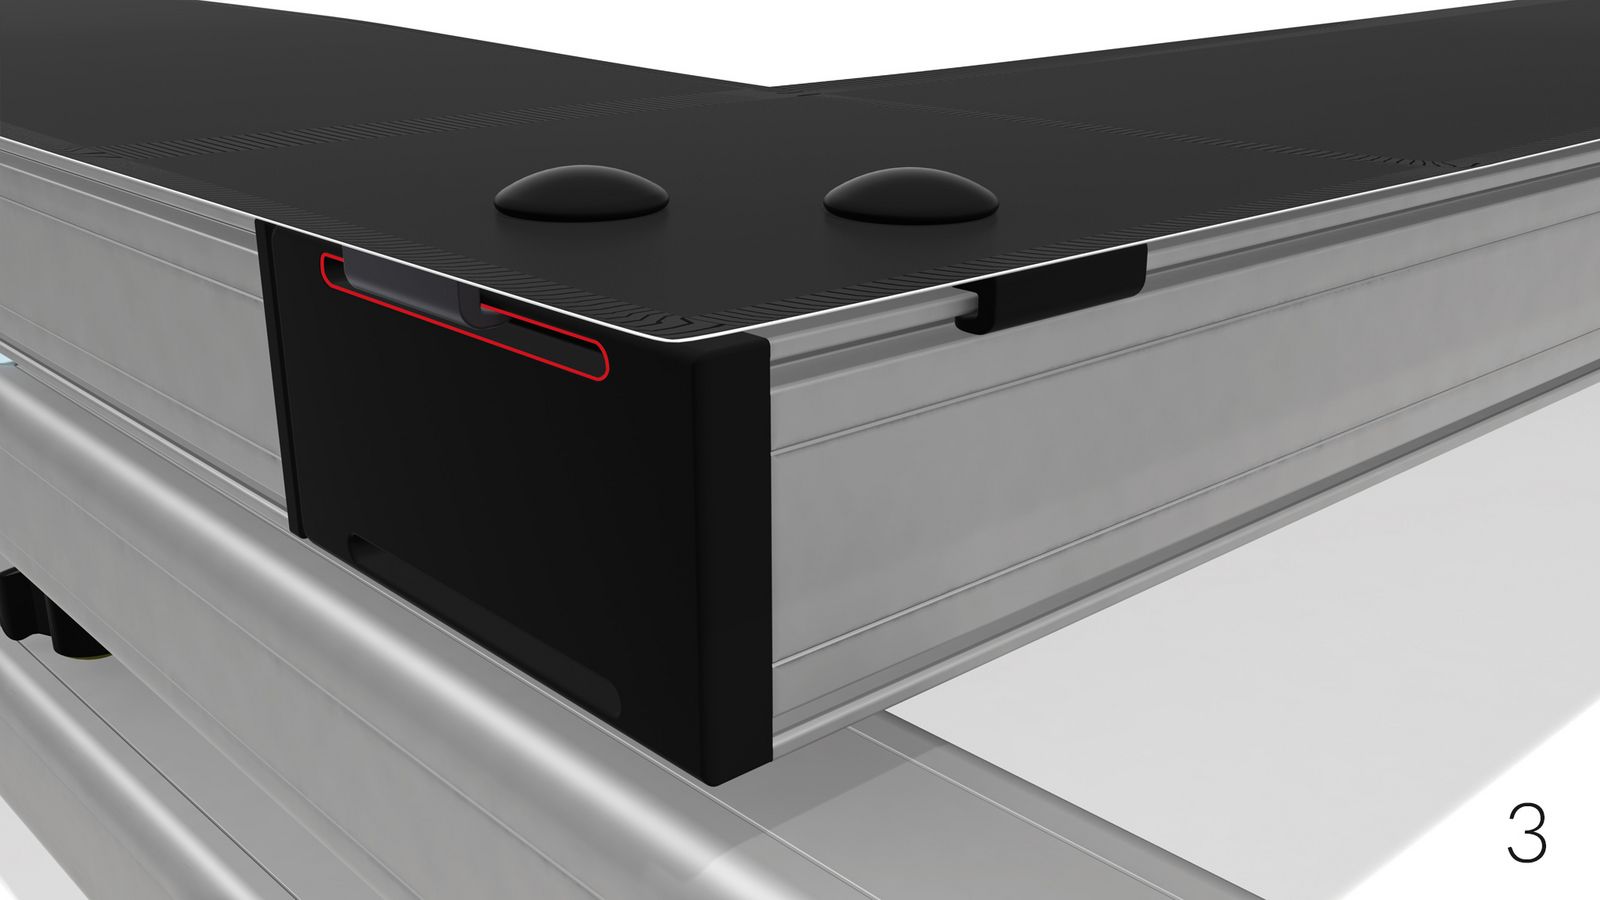
2-3 Hook the first QUICKCLIPTM into the slot of the corner plug and additionally a second QUICKCLIPTM
along the vertical and horizontal profile groove. Repeat this step according to the numbering in picture 1.
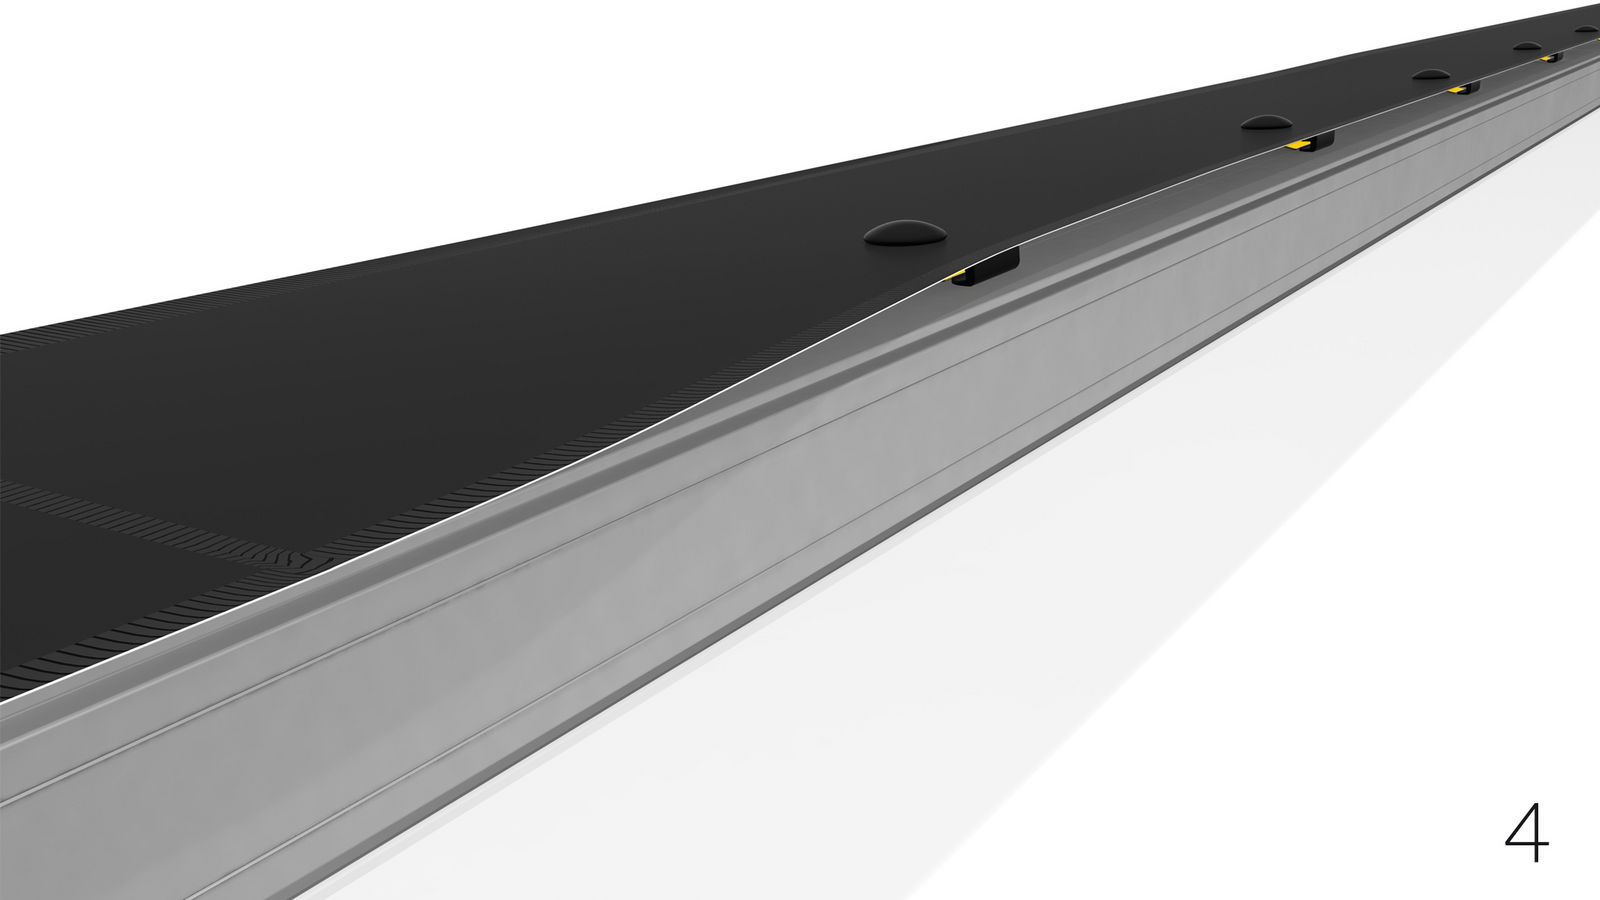
4 Finally stretch all the remaining QUICKCLIPTM over the profile edge. The QUICKCLIPTM snap into place
automatically.


Set up
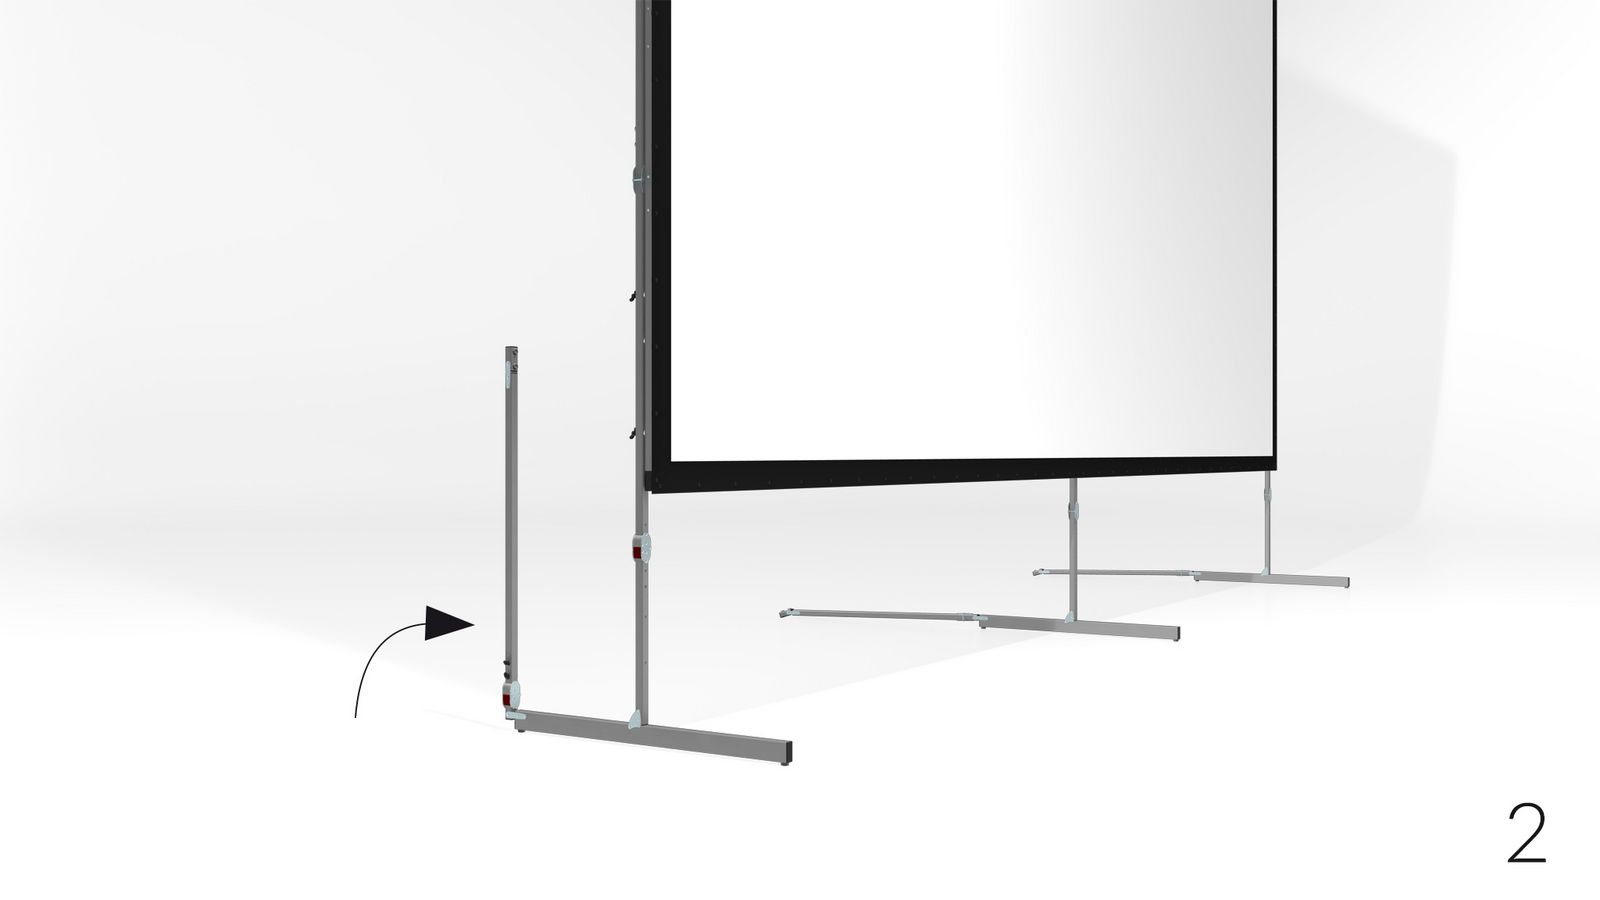
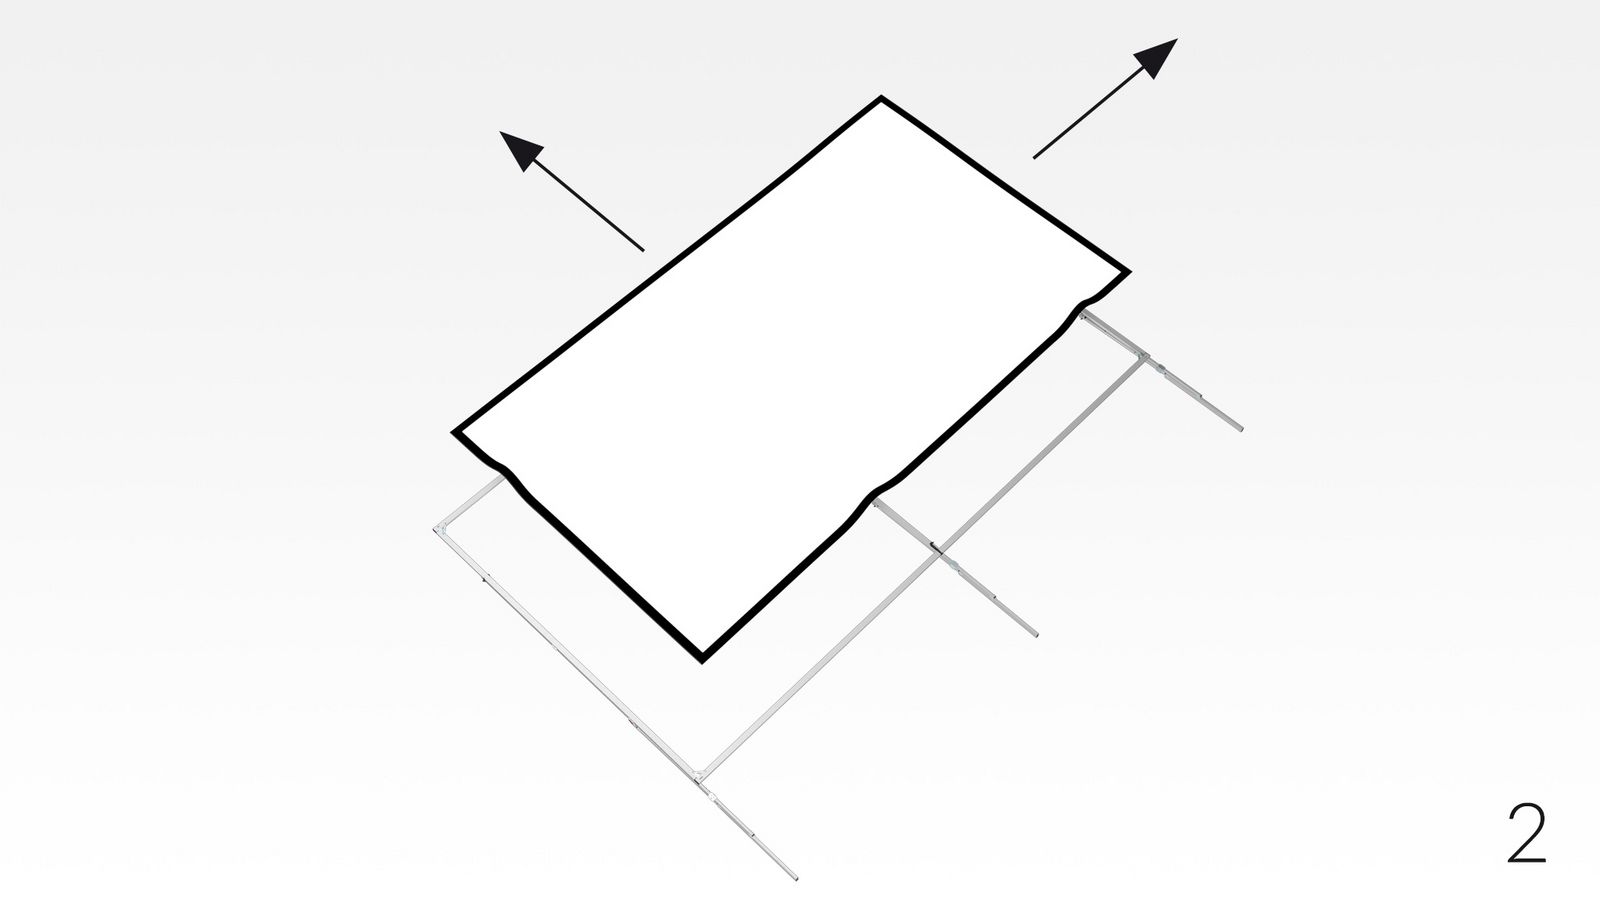
1 Lift the projection screen with one person at each of the top corners and put it up by supporting the screen along the vertical frame elements. To avoid mechanical overload and damage of the screen elements and legs with large screens or high set-up height, the screen has to be raised with an appropriate number of persons or rather by using hoisting devices.
2 Raise the telescopic support.
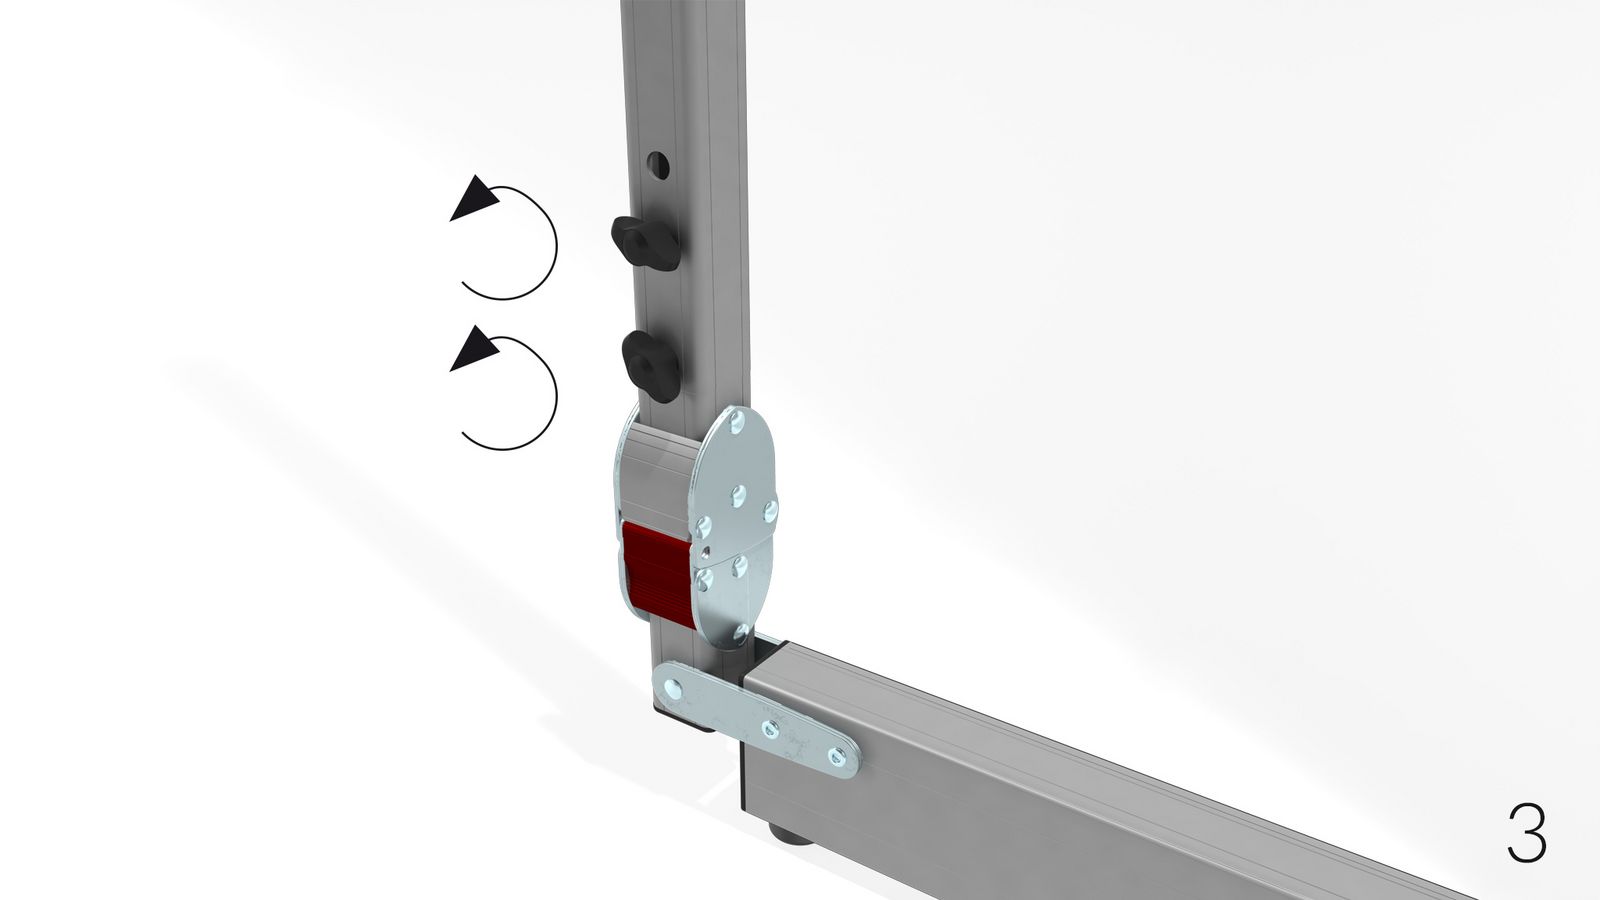
3 Untighten the wing screws.
4 Bolt the telescopic support with the wing screw M8x50mm (yellow).
5 Finally retighten the telescopic support clamp.
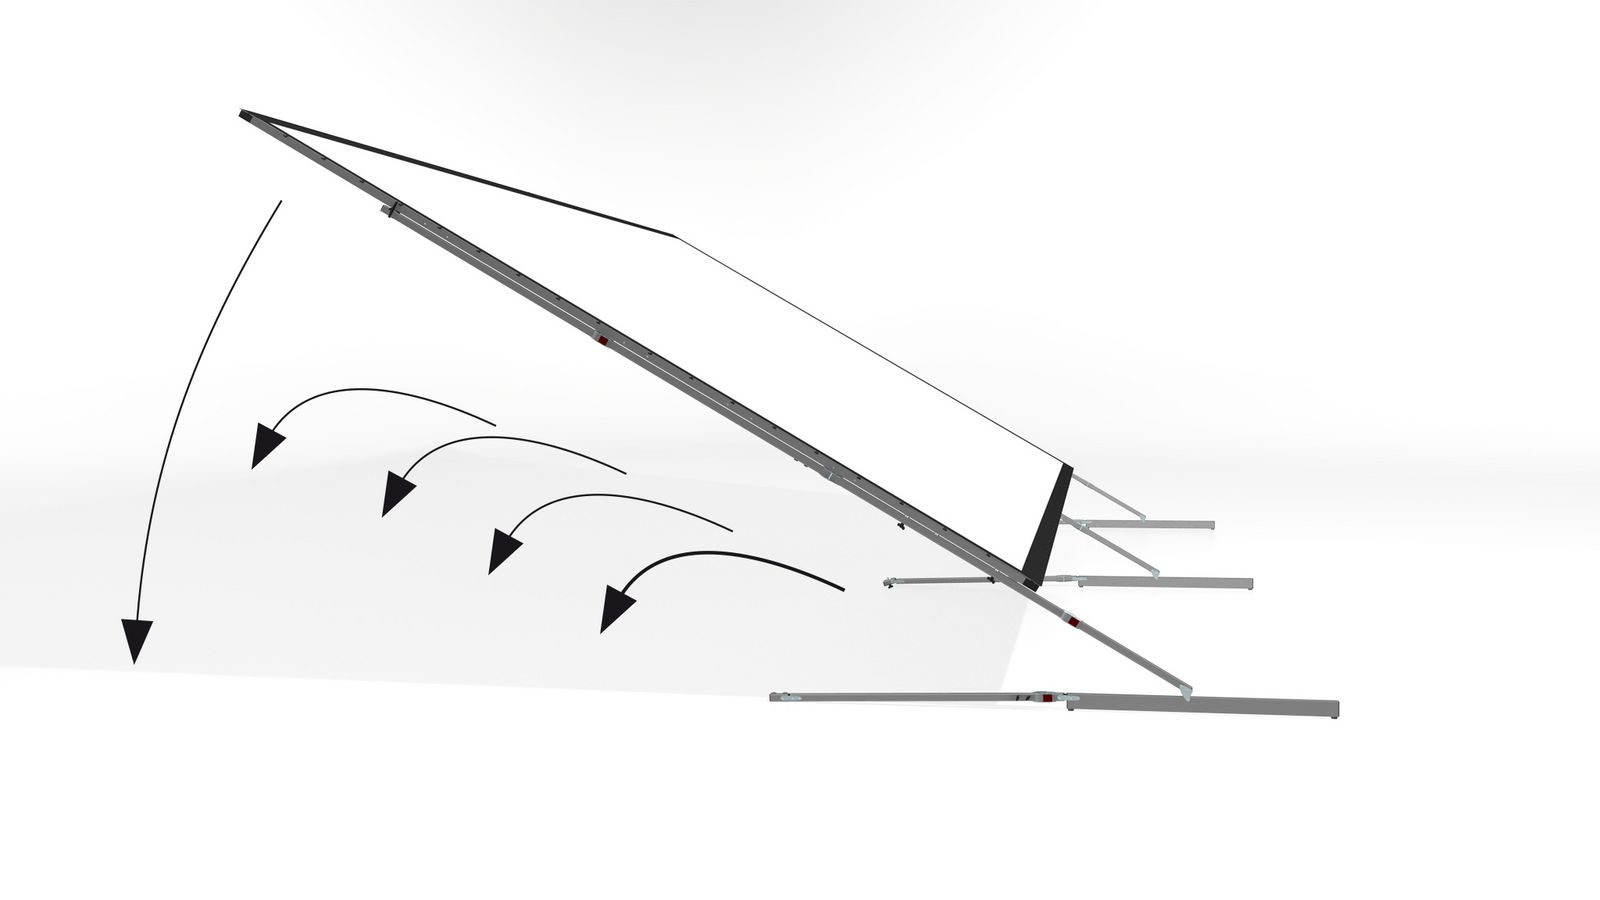
Break down
Open the shear joints and telescopic leg supports with one person next to each of the foldable legs. Bring down the screen by supporting the screen along the legs and vertical frame elements towards the top corner edges.
1 To detach the projection surface you have to remove the QUICKCLIPTM on one vertical and one horizontal frame side only.
2 Now the surface can be pulled off the frame easily.