Montage
Intuitif. Simple. Sûr.
Installer un écran de projection Vario est aussi simple que ça en a l'air, même pour des utilisateurs inexpérimentés.
Frame set up
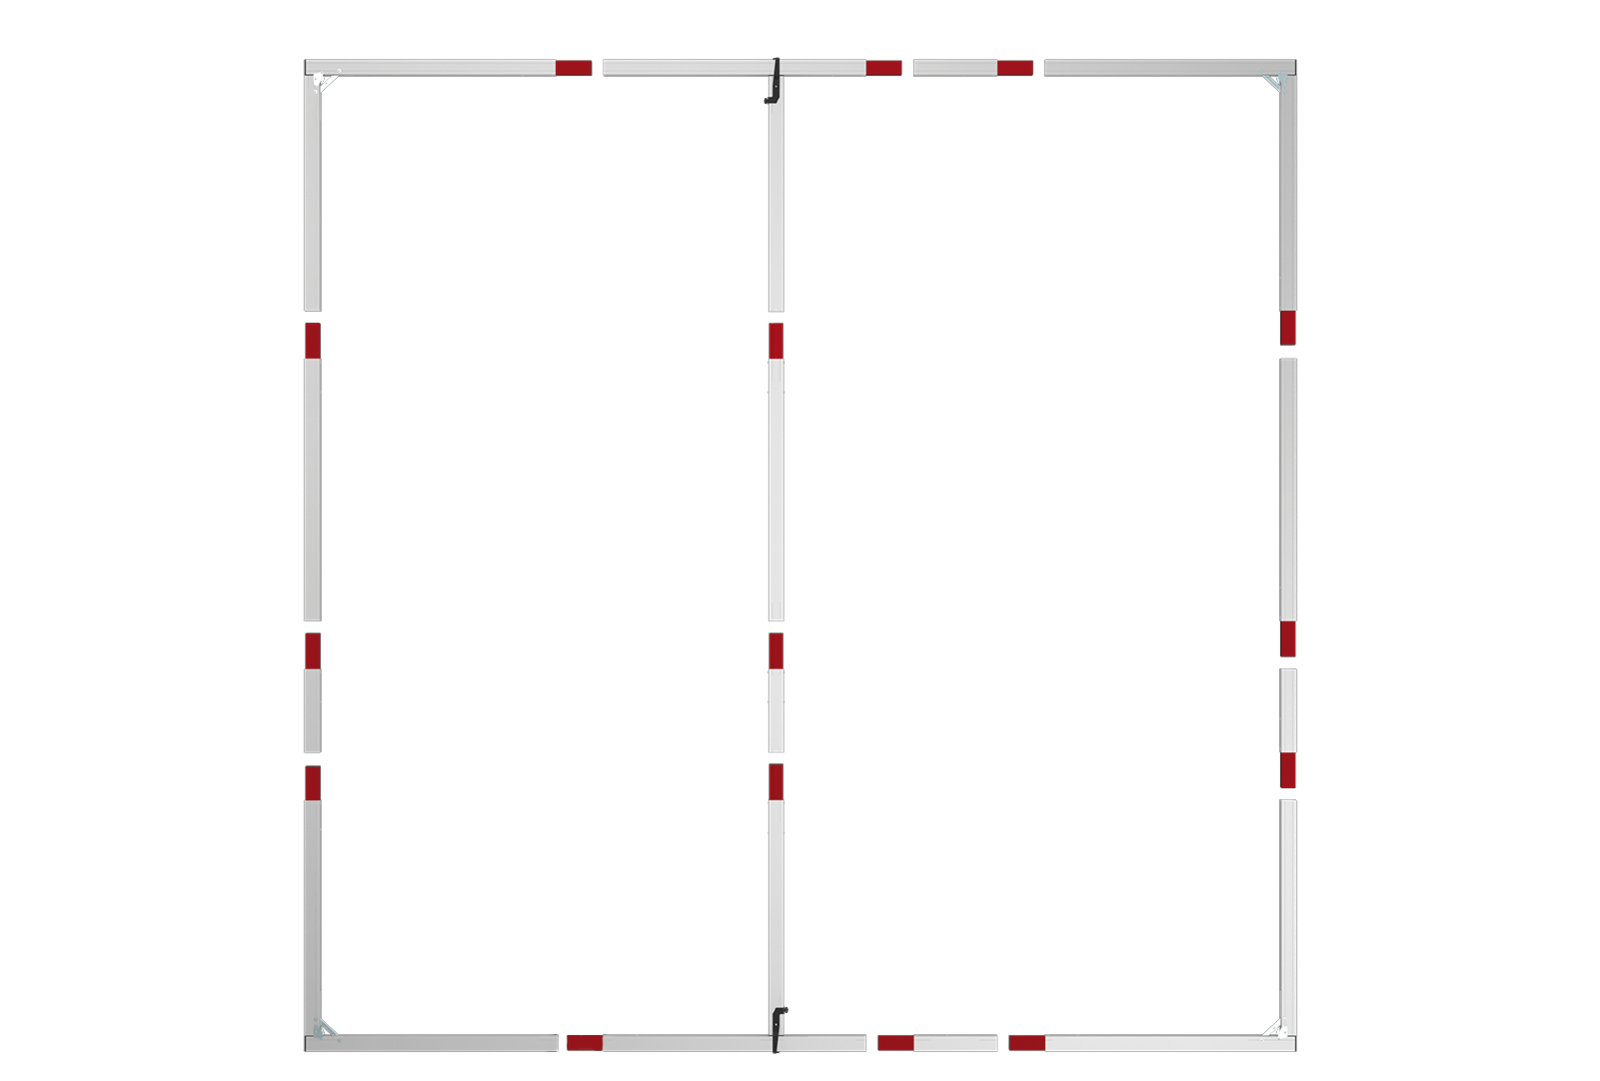
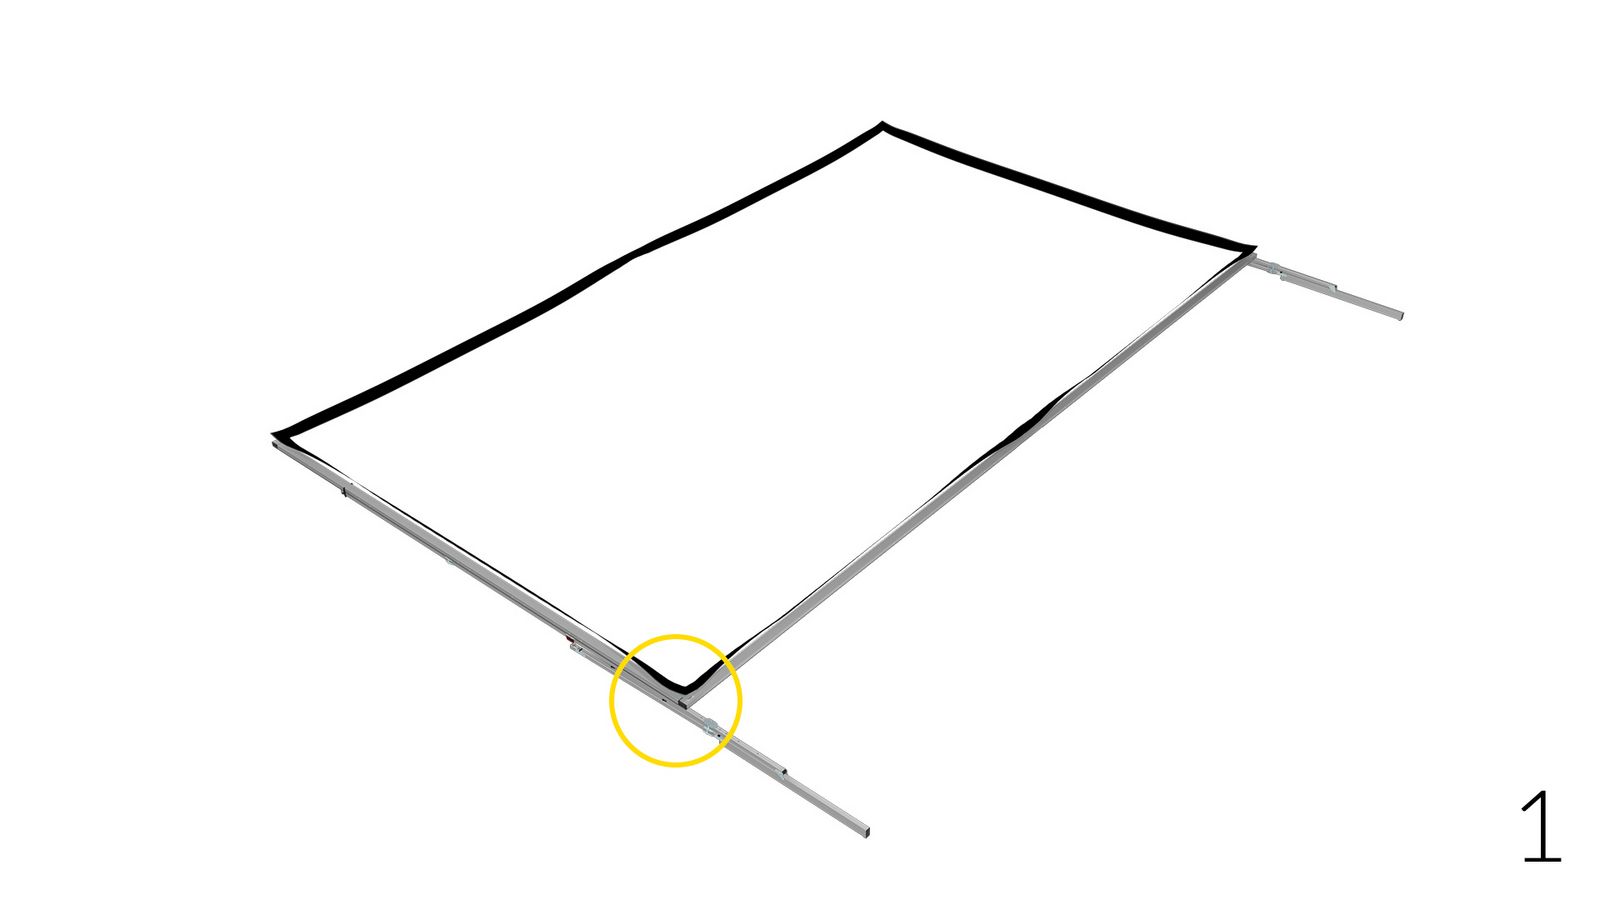
All components of the mobile projection screen are labeled.
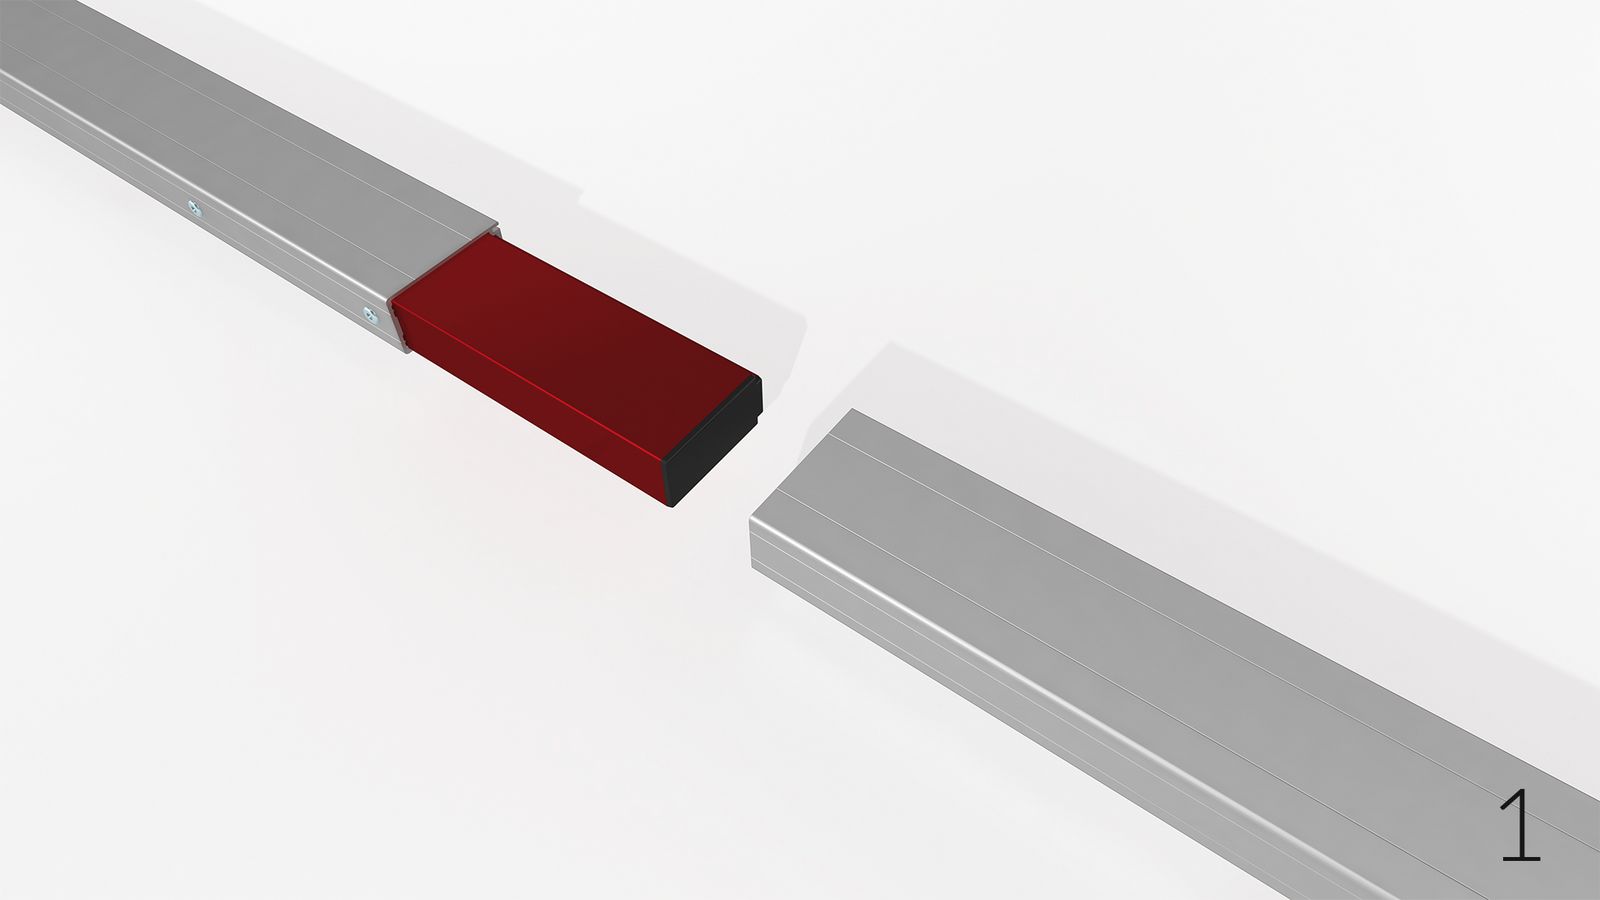
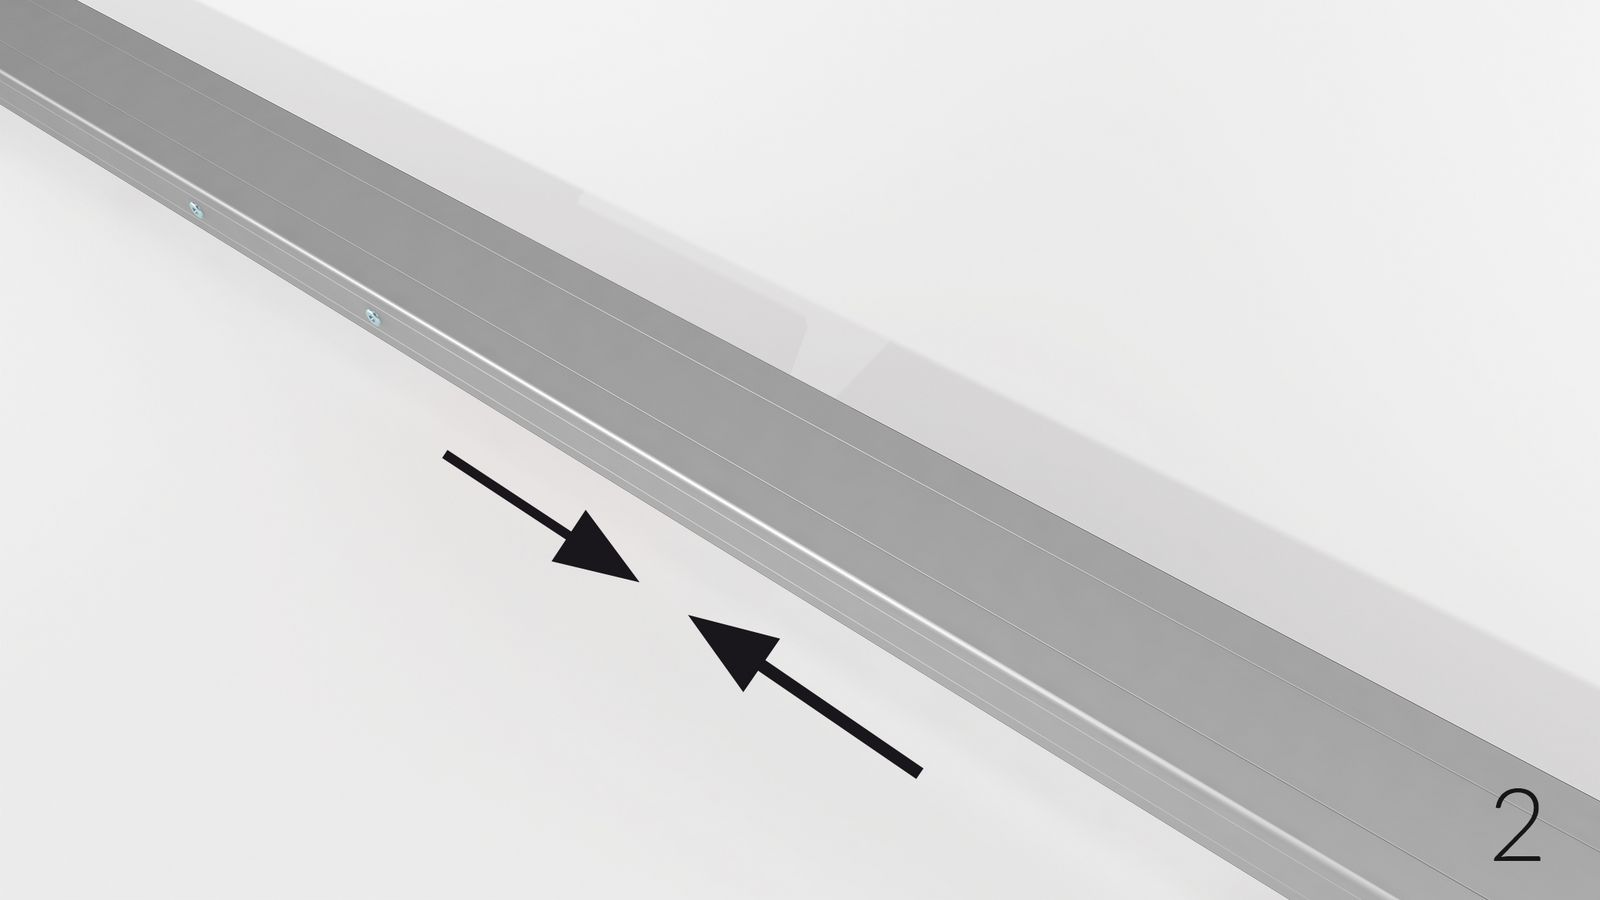
For assembly, start with the basic frame. Unfold the corner elements 1 to 4. Do not engage the shear joints now and lay out the components according to their labeling. The standard elements 5 (110cm) and supplementary frame components 6 (below 110cm) have to be inserted according to their labeling (see sketch above). In case of two supplementary frame components 6 and (6) per frame side, the standard elements 5 (110cm) have to be placed in between of the two supplementary frame components 6 and (6). Engaging the shear joints ensures the maximum screen stability.
Modes d'assemblage
Selon l'application et la taille de l'écran, deux modes d'assemblage sont disponibles pour VARIO.
Plug-in connection
The quick and easy plug-in connection for small to medium sizes when installed with legs.
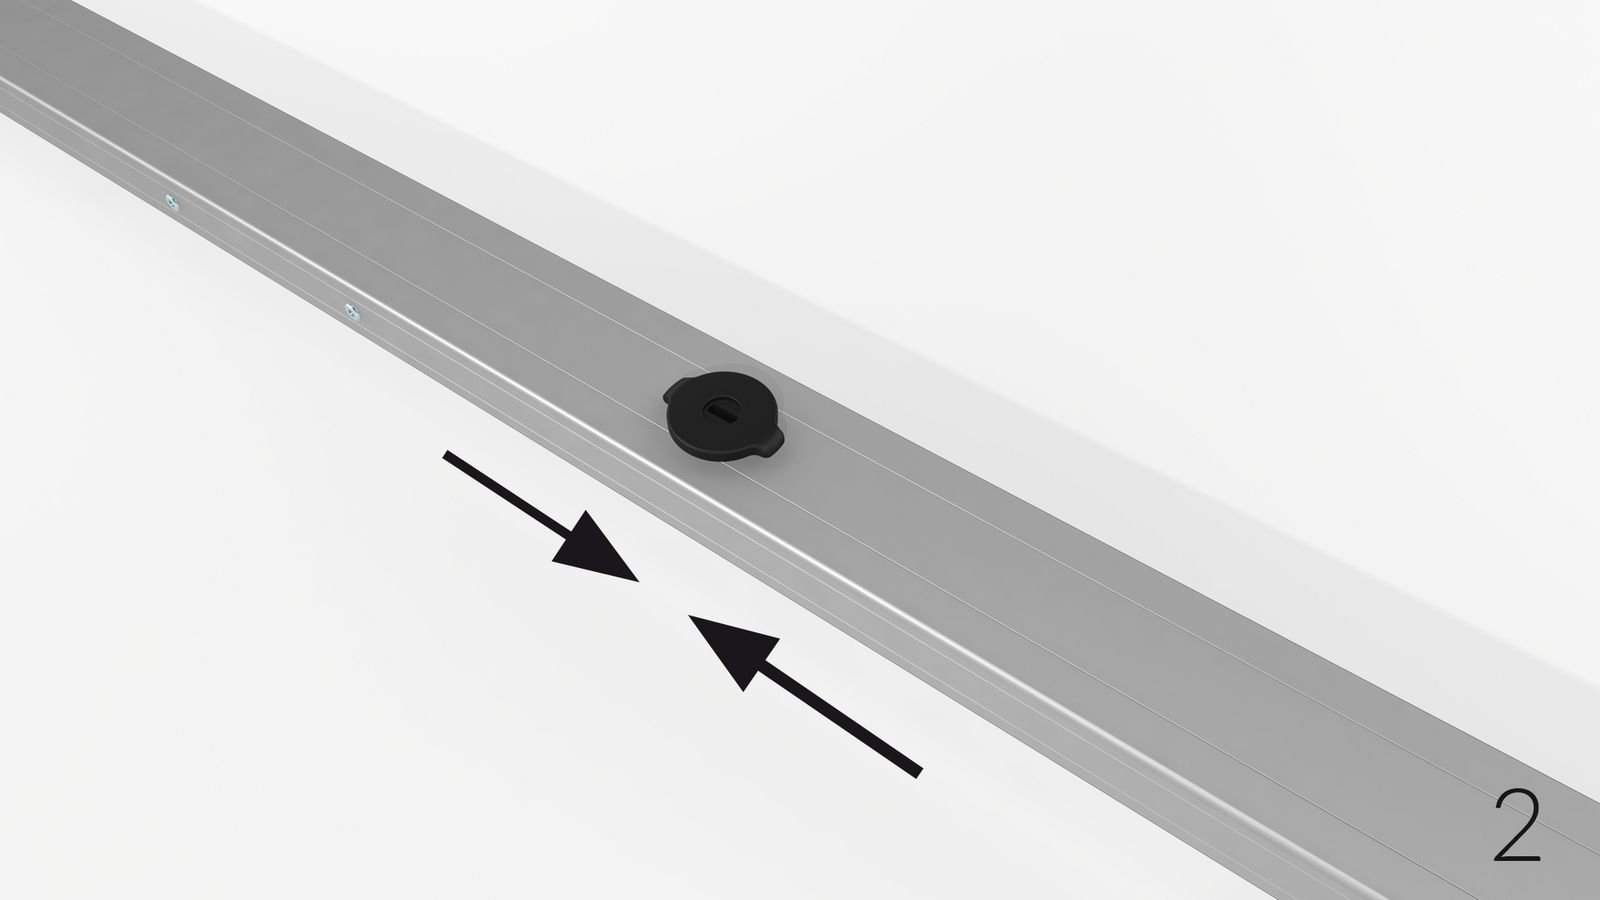
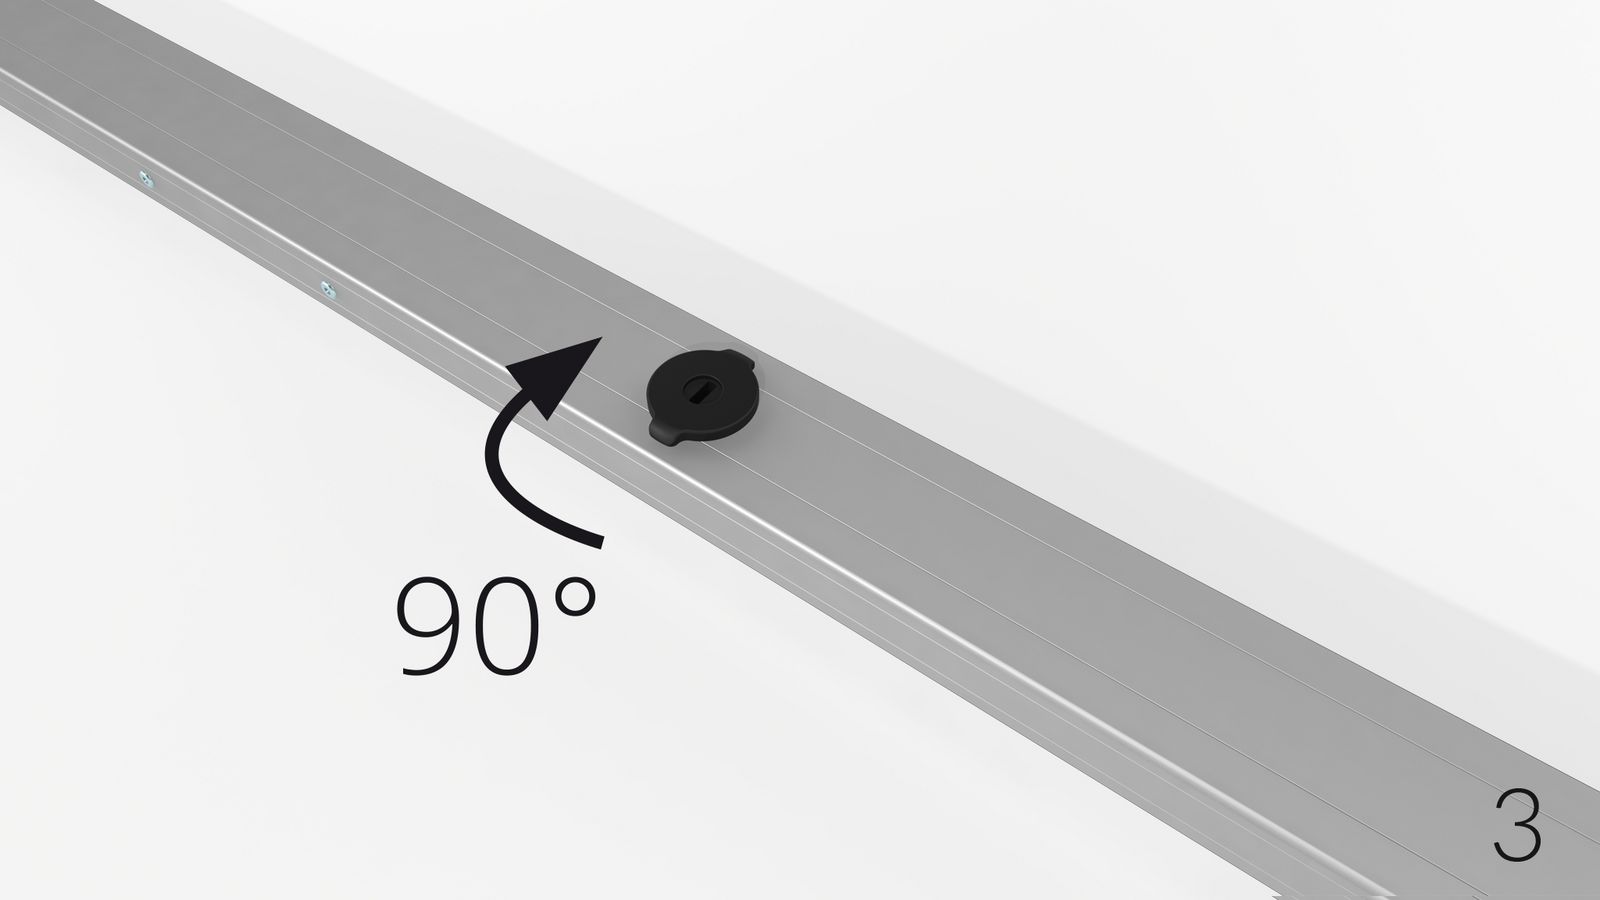
Vario Lock
The plug-in connection with additional locking for larger screens and/or “flying- screen“ mounting. A simple 90 ° rotation and the connection is secured. No tool is required.


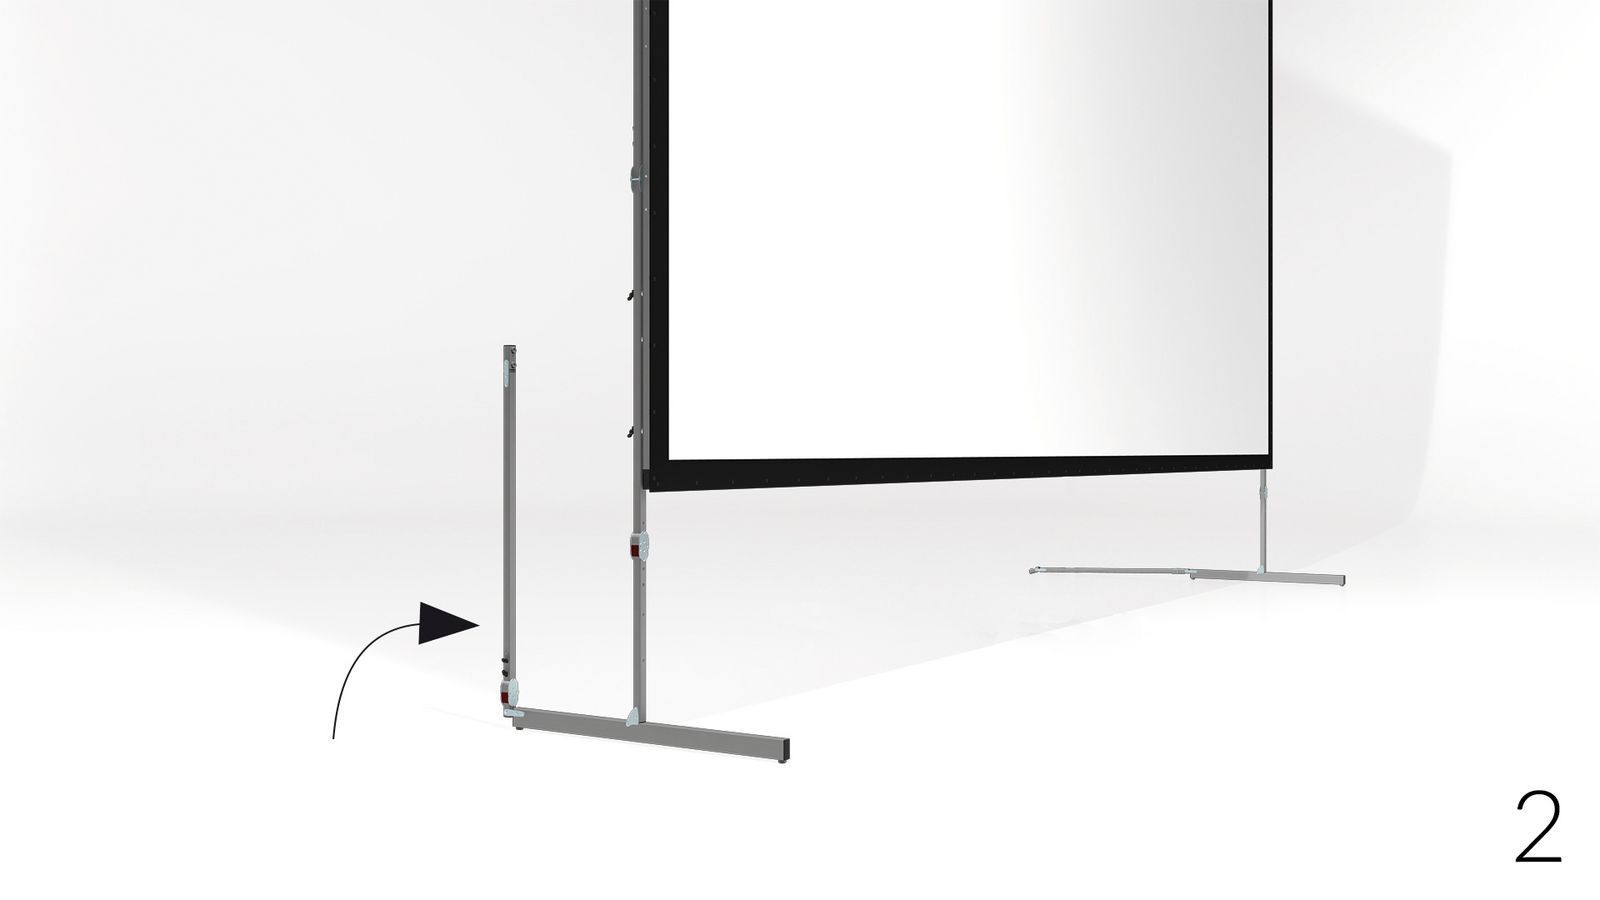
Montage des pieds
1 Déplier d'abord les parties verticales du pied (avec les trous)
2-3 Les joints cliquets se verrouillent automatiquement
4 Pour attacher les pieds à une seule personne, l'utilisation du kit de montage est recommandée. Glisser et centrer deux éléments du kit sur chaque pied. Disposer les pieds sur l'arrière du cadre et aligner les trous sur les points de connection du cadre, selon la hauteur souhaitée (suivre les instructions fournies avec le kit).
5 Les pieds sont fixés à l'aide de deux vis papillon sur l'élément bas du cadre, et les fixations à ergot sont attachées sur l'élément haut du pied.
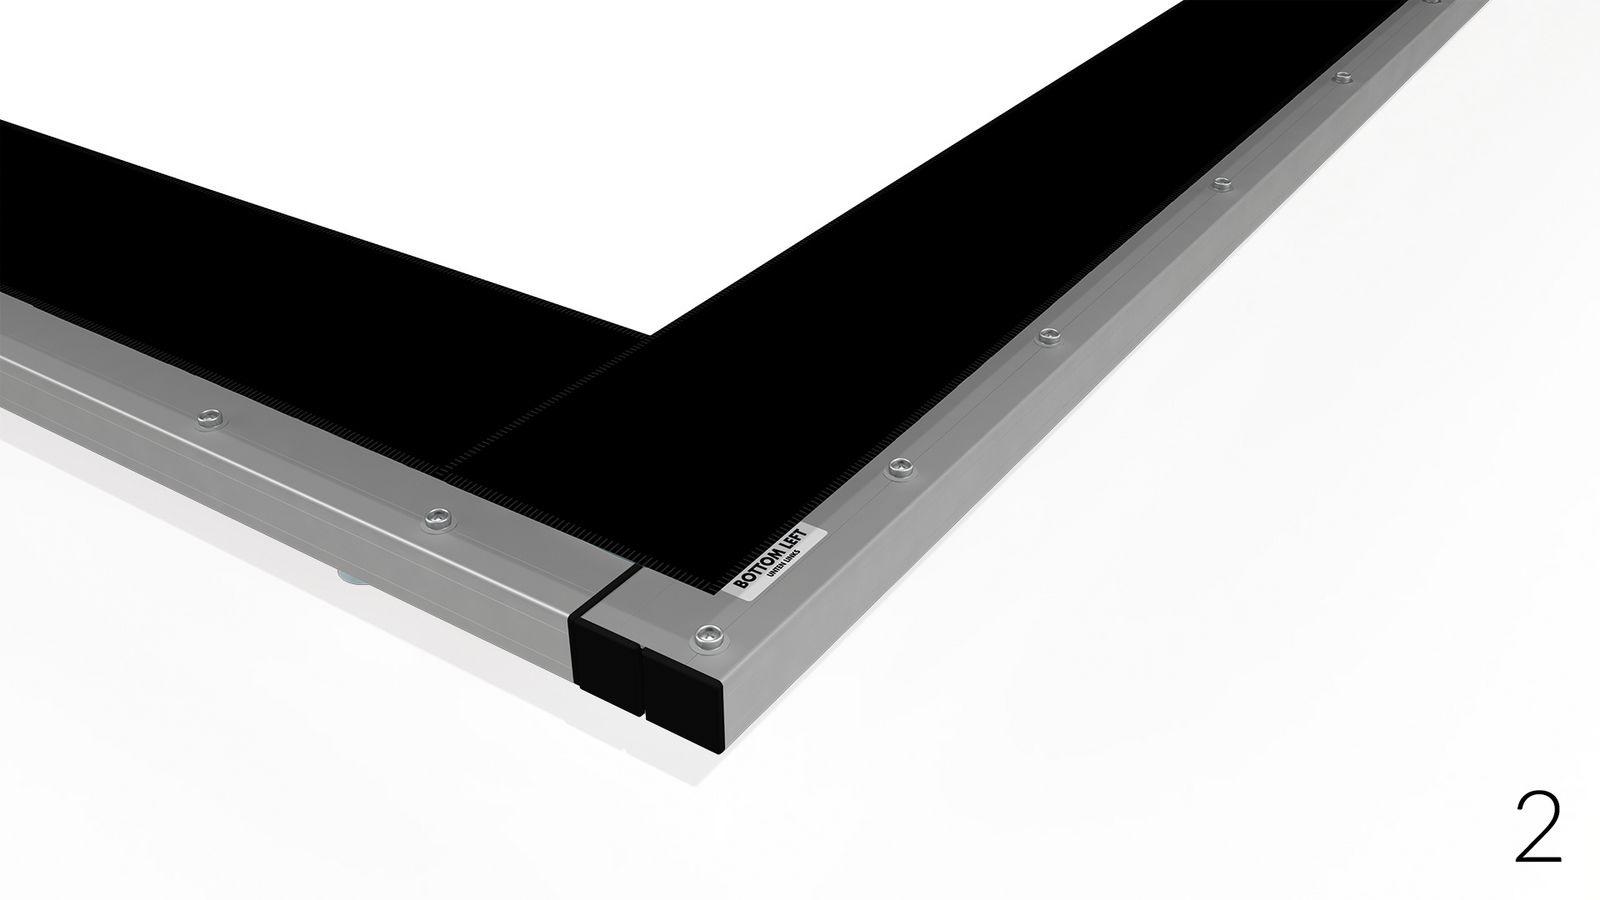
Surface mounting
Lay out the surface on the frame with the label „OBEN-TOP“ corresponding with the upper frame bar.
Press on the projection surface by starting at one corner and fasten the buttons one by one.

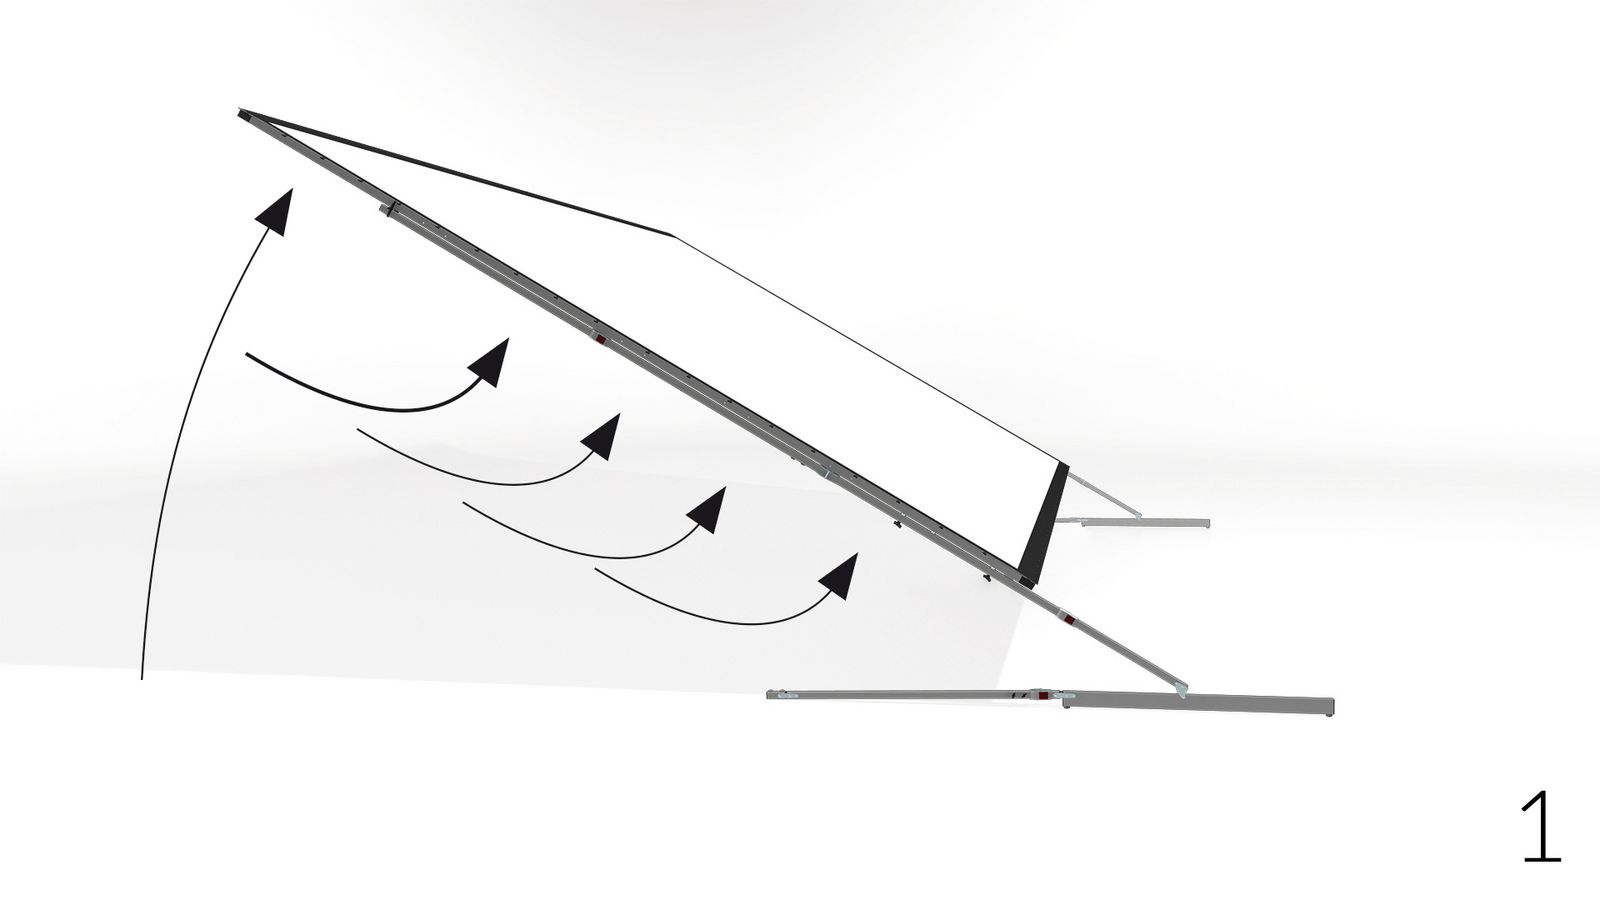


Set up
1 Lift the projection screen with one person at each of the top corners and put it up by supporting the screen along the vertical frame elements.
To avoid mechanical overload and damage of the screen elements and legs with large screens or high set-up height, the screen has to be raised with an appropriate number of persons or rather by using hoisting devices.
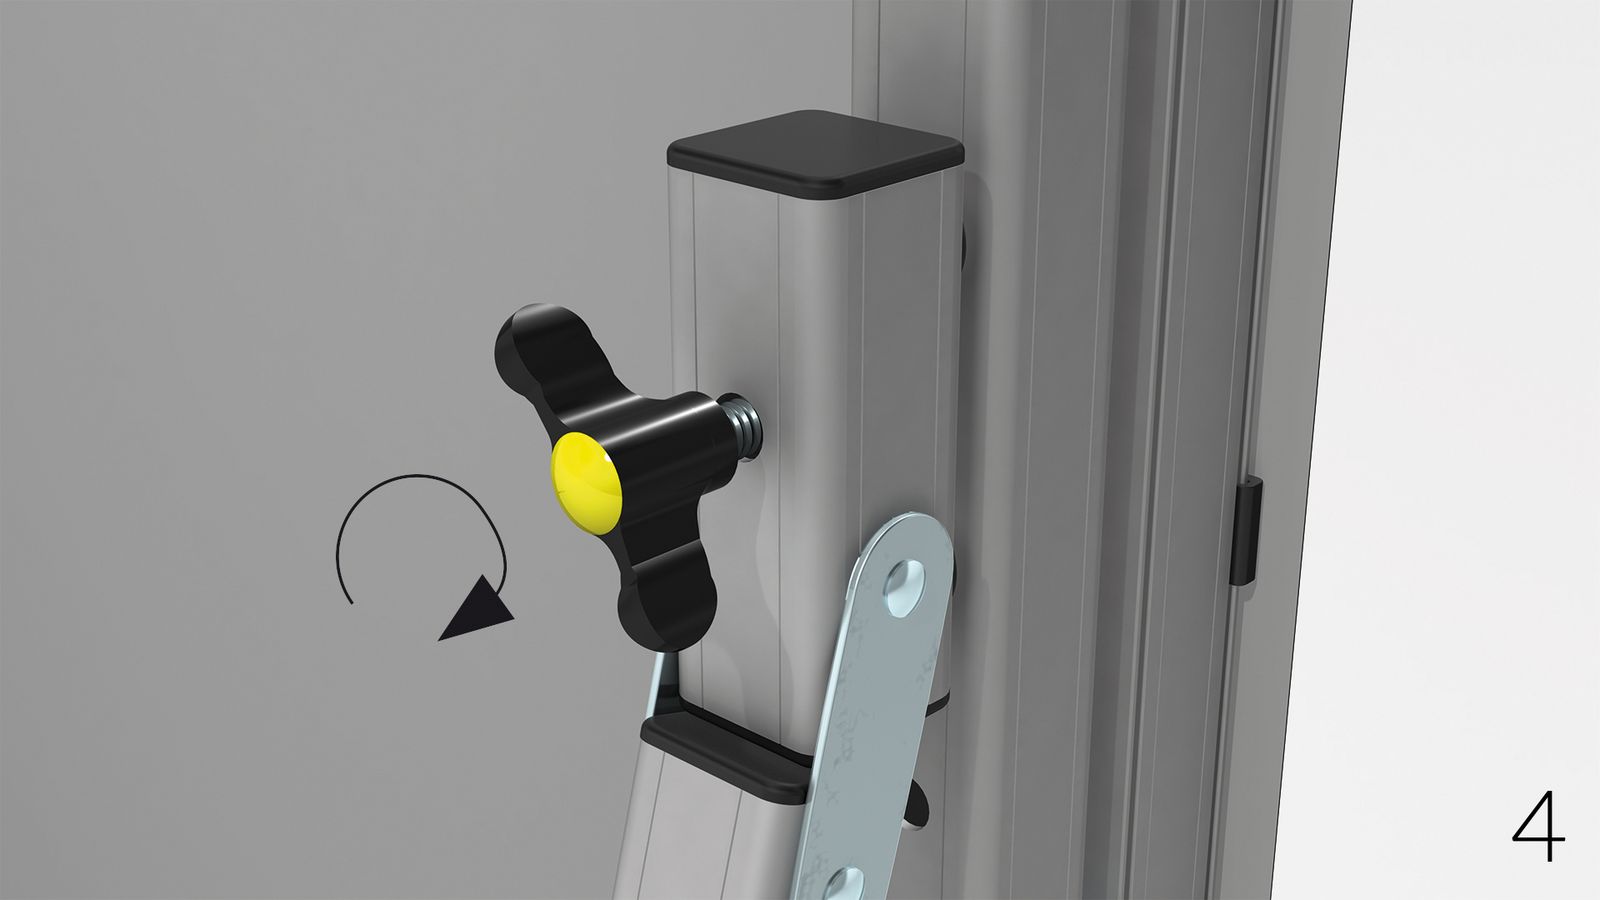
2 Raise the telescopic support.
3 Untighten the wing screws.
4 Bolt the telescopic support with the wing screw M8x50mm (yellow).
5 Finally retighten the telescopic support clamp.