
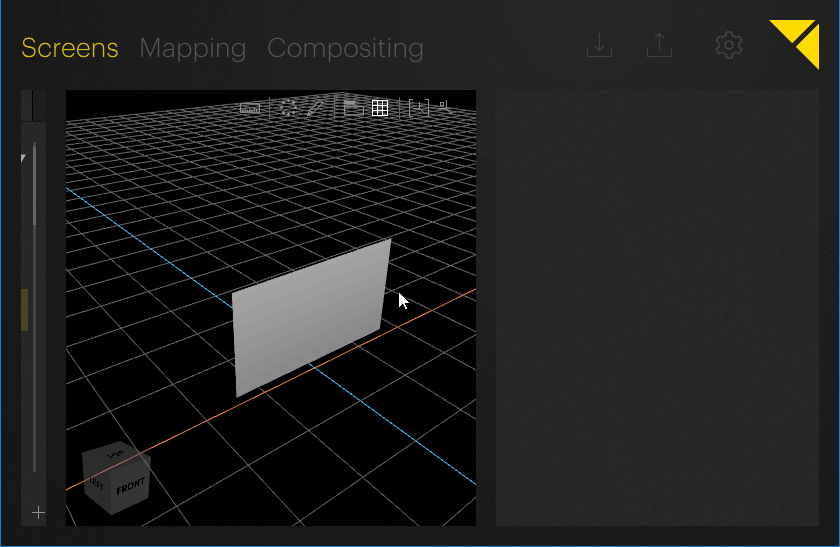
Objects can be moved by clicking and dragging them, or by changing the corresponding position values in the Inspector.
Note: All numeric input value fields also allow for mathematical operations. This can be helpful to scale a screen by a specific factor as an example.
The allowed operations are as follows:
+ : addition
- : subtraction
* : multiplication
/ : division
In addition to these mathematical operations, typing '++' or '--' followed by the desired value in any numeric input value field and pressing [Enter] on the keyboard simply adds or subtracts the entered value from the actual value.

Object movement is restricted to a single plane. To define the plane on which an object can be moved, the corresponding side of the object has to be selected. Moving the mouse over a side plane of an object will highlight it, selecting it will restrict the movement to the corresponding plane.
Example: Selecting the top side of an object will restrict movement of the object to the horizontal plane.
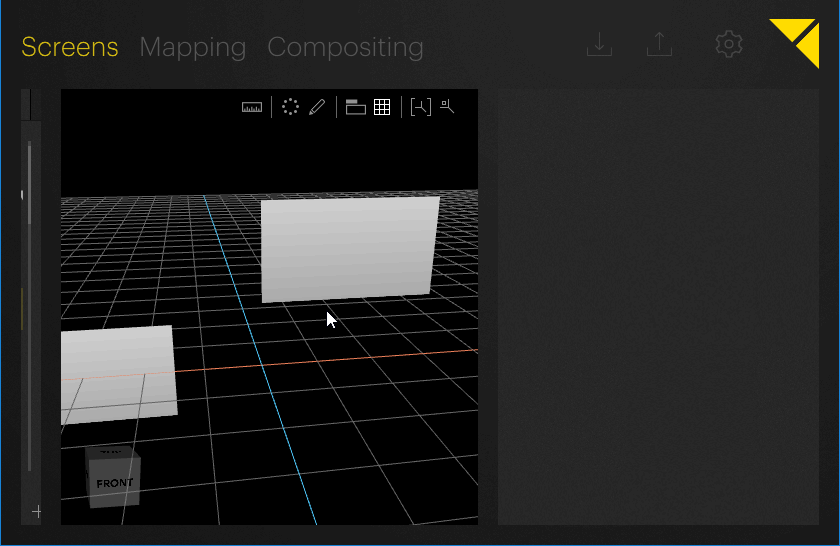
Pressing [Shift] before or after dragging an object constrains the movement to the two axes of the plane parallel to the stage camera's plane. Pressing [Shift] more than once cycles through the two possible axes. When the constrain mode is active the corresponding axes are highlighted in the Workspace, while the active axis is always colored white and the second (inactive) axis, is grayed out.
When constrained movement is active, the selected objects snap to edges and center points of other objects as well as the origin. Snapping is indicated by white reference points on the object that is being moved and the closest points they will snap to. Moving an object and dropping below a certain distance to the next snappable points allows the object to snap automatically. The number next to the closest snapping point indicates the distance between the reference and the snapping point.
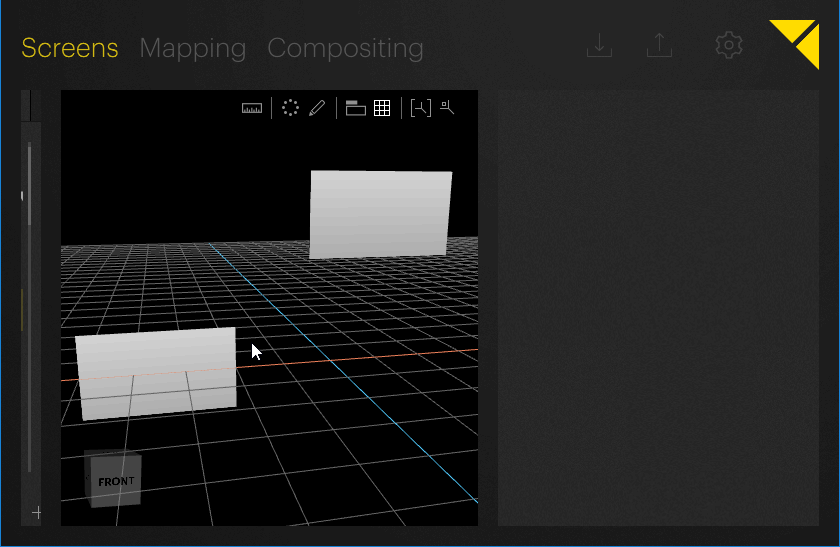
Note: Depending on where the object was selected before dragging, the reference points for snapping are set.
Example: If the object was selected at its center, it will take its center point as reference point for snapping. If it was selected near an edge of the object, it will take the adjacent edges as reference points for snapping.
Aligning, evenly distributing or distributing multiple objects with an specific offset on a line, around a circle or between other objects can conveniently be done with the help of Pixera's Auto Transform Editor. By default, Pixera uses related objects as reference to align along or around. The Auto Transform Editor can also be used to automatically align multiple projectors in a softedge projection scenario.
The Auto Transform Editor can be launched from the tool palette in the top right corner of the Workspace by clicking its icon:
![]()
As a basic example, the Auto Transform Editor can be used to automatically align a projector to a screen:
Select the projector in the Workspace.
Launch the Auto Transform Editor by clicking its icon in the tool palette.
Select the Align mode on the top.
Open the Align Details by clicking the small triangle next to it.
Make sure the right screen is selected under Align Projectors with Screen.
![]()