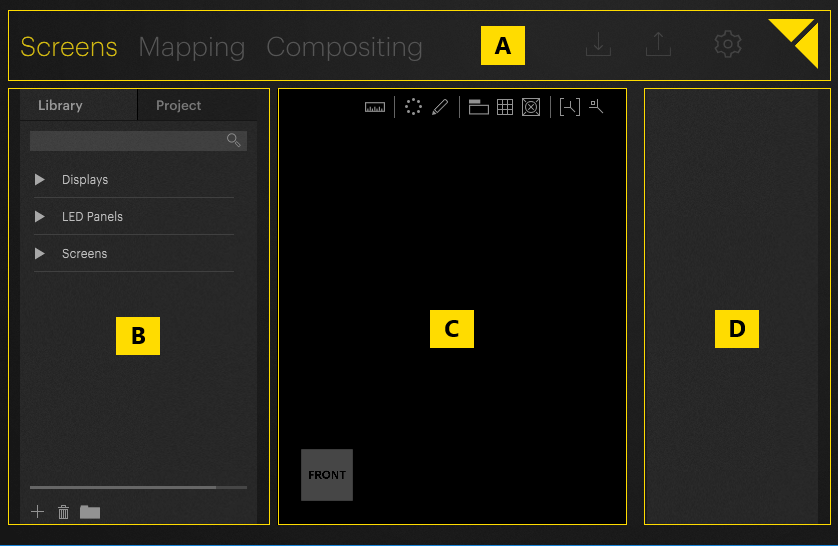
Pixera's user interface consists of the following main areas:


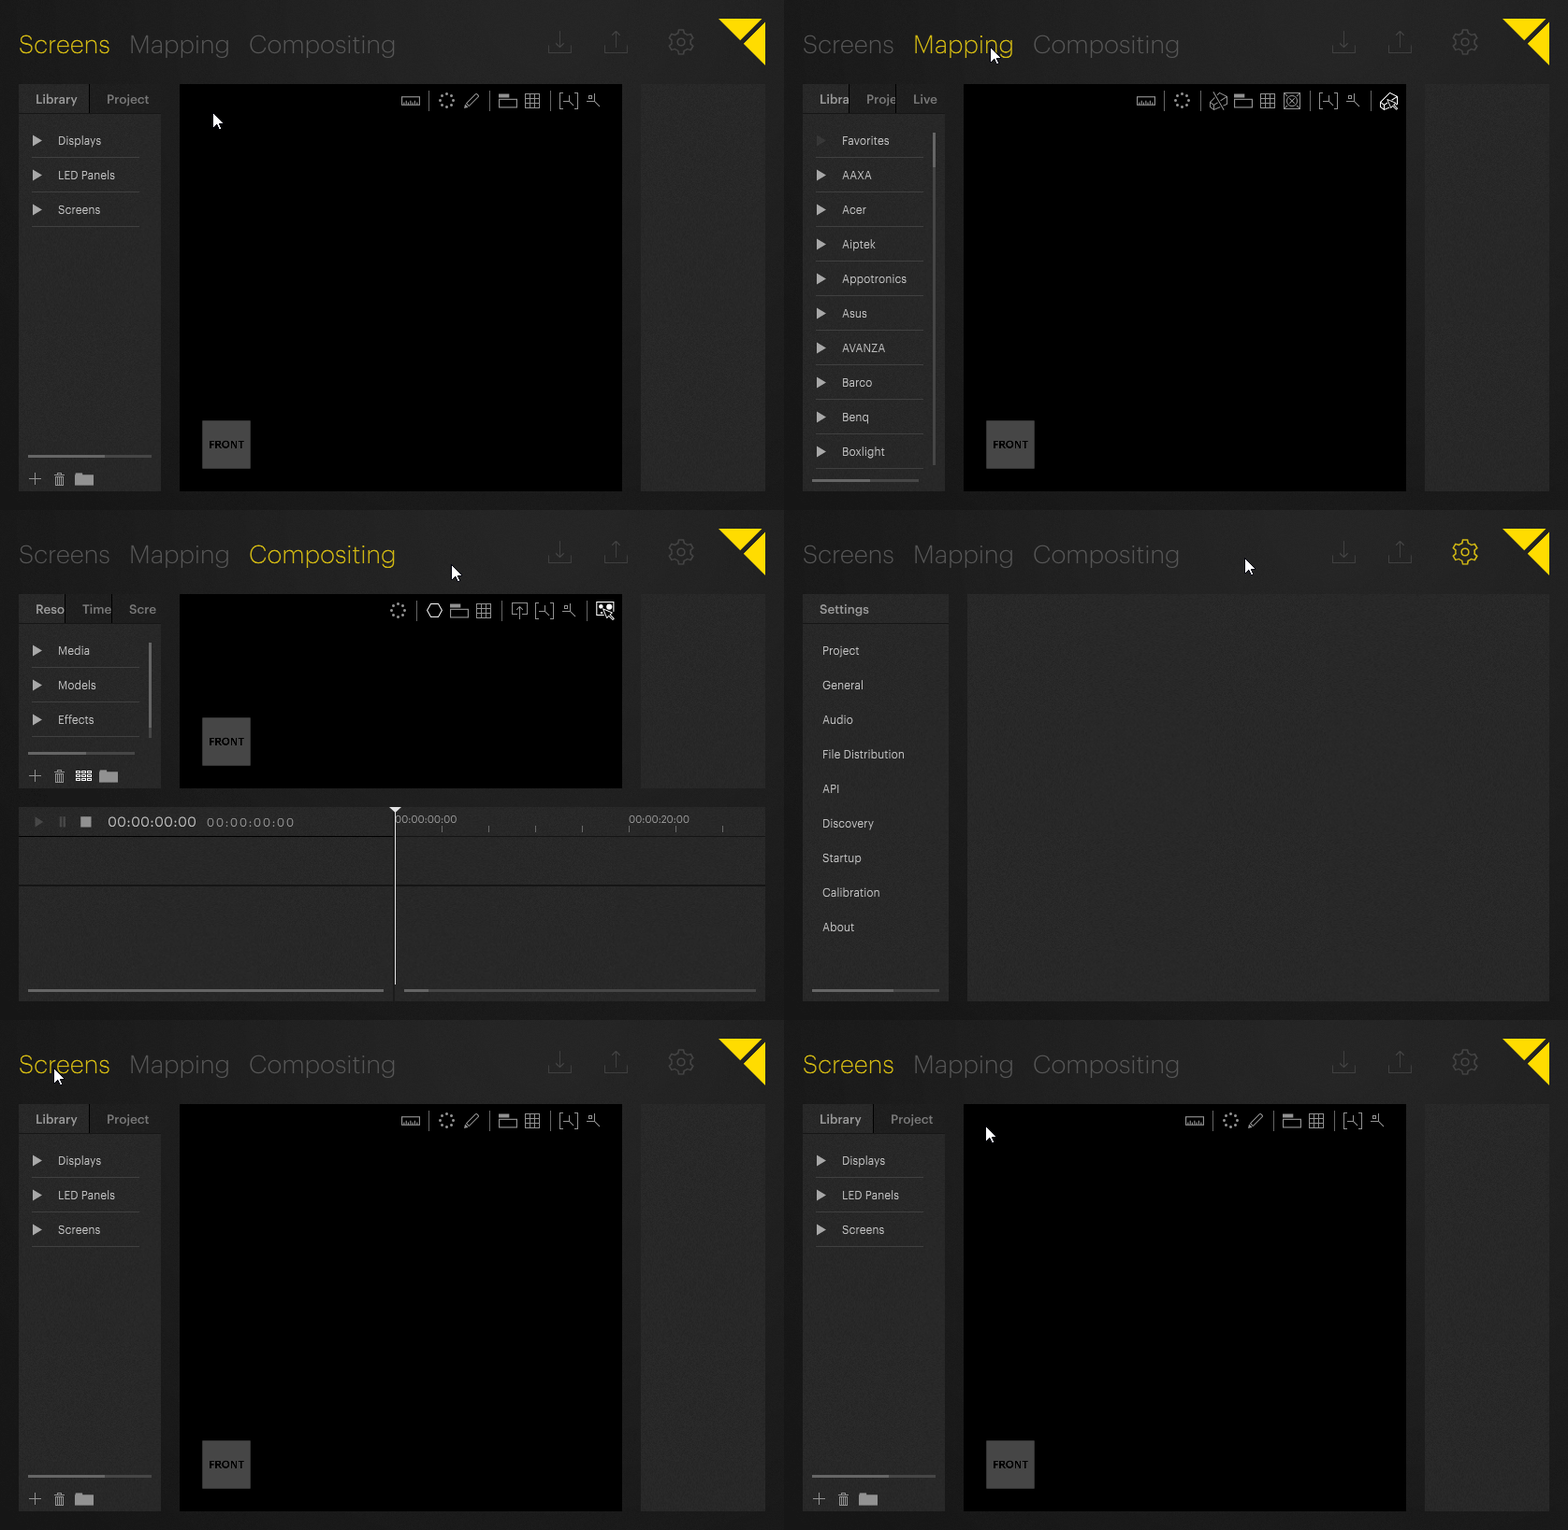
Pixera's user interface consists of three different modes reflecting the steps of setting up a project. They are called Screens, Mapping and Compositing.
![]() The wheel-icon on the right side of the pane opens the Settings window and turns yellow when active.
The wheel-icon on the right side of the pane opens the Settings window and turns yellow when active.


The arrow-icons next to the settings icon allow you to quicksave the current project to disk or load an existing project from disk. More detailed options for project management can be found in the Settings pane under the Project section.
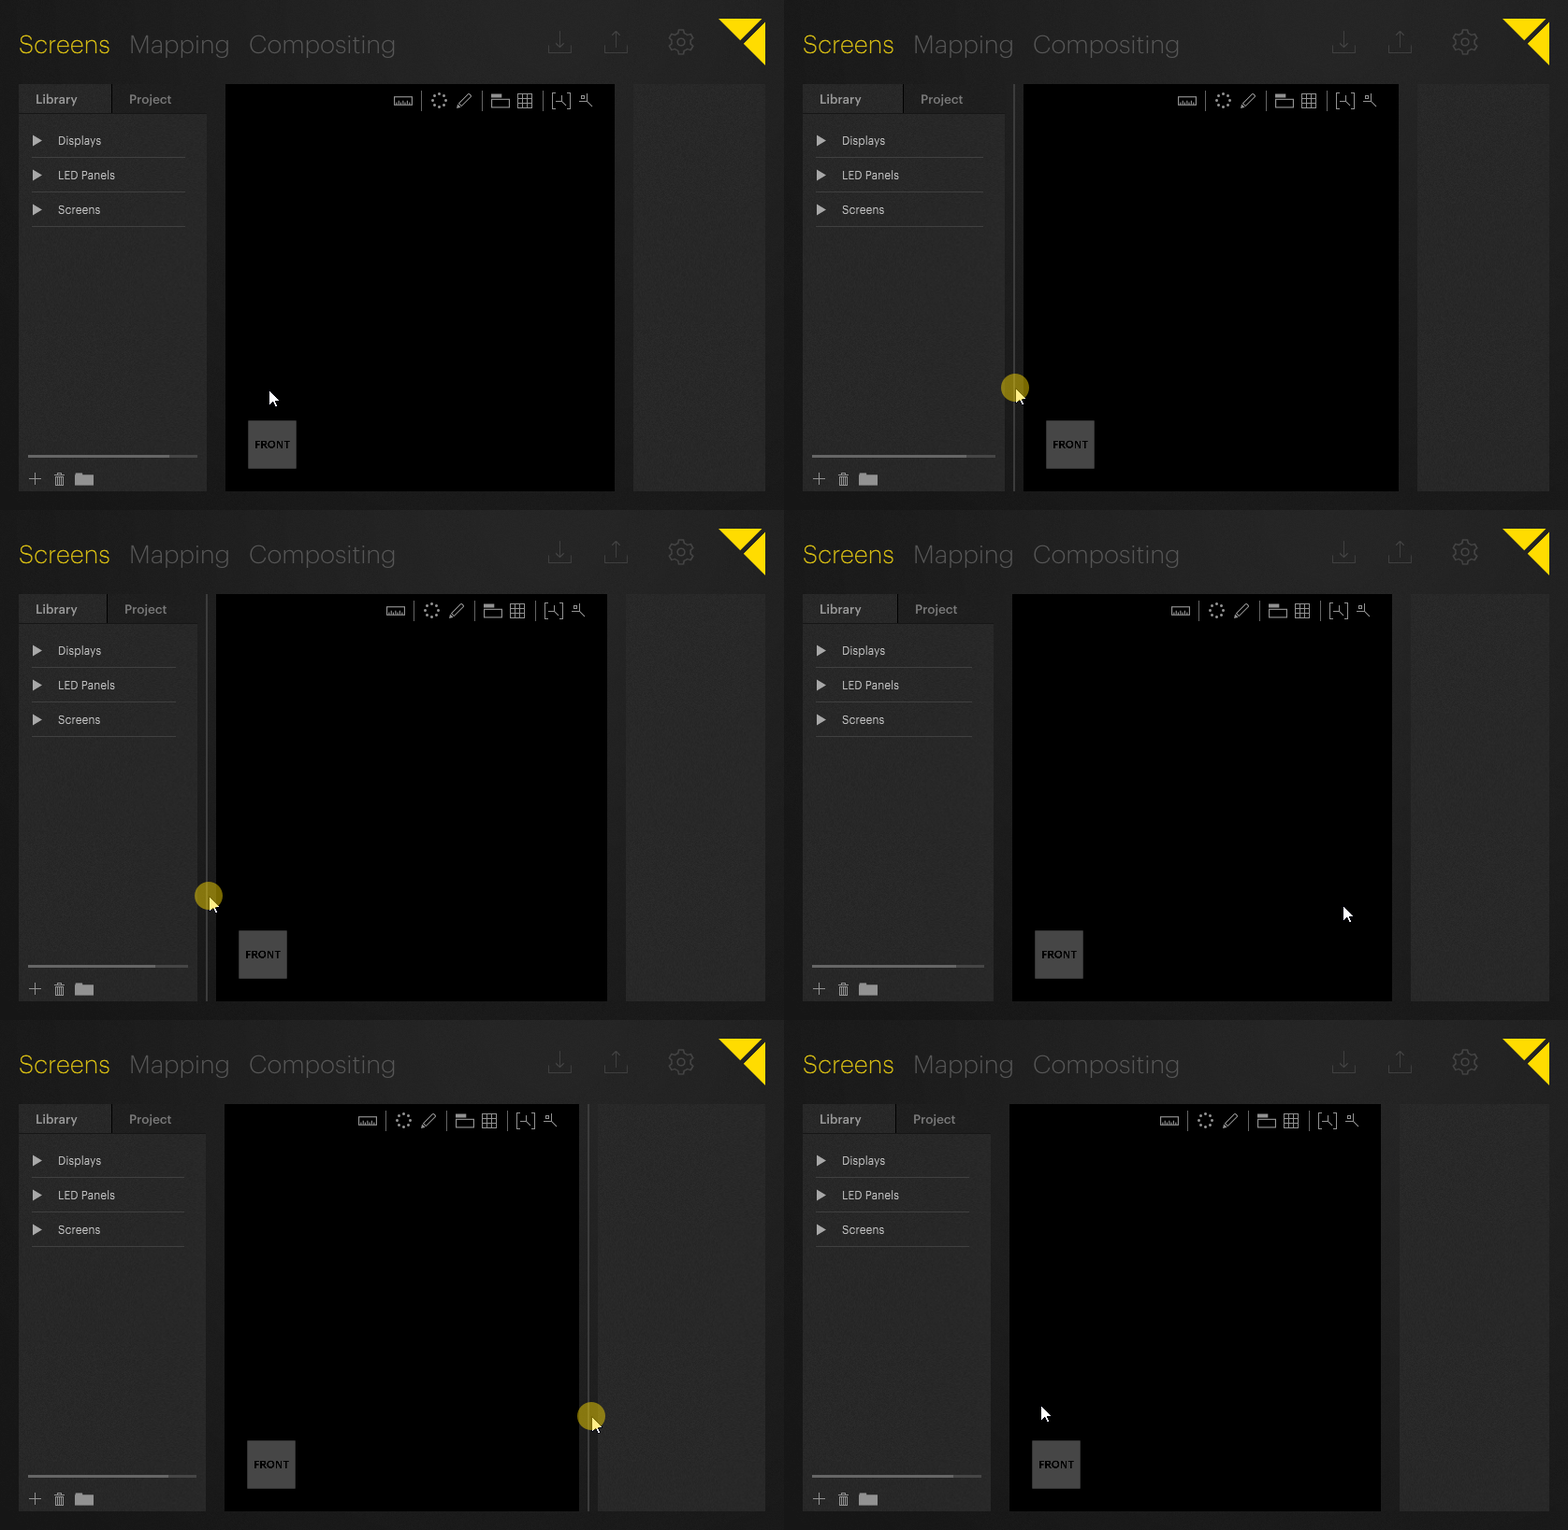
The Selection Pane on the left side of the user interface lists all objects that can be placed or have been placed in the . This includes screens, LED screens, projectors, live inputs, content and timelines, most of which can be placed via drag-and-drop onto the Workspace.
Depending on the active mode (Screens, Mapping, Compositing), the Selection Pane will display different items.
The Workspace represents the 3D scenery of the project including all screens, LED screens, projectors and 3D objects, as well as decoration elements which can also be imported and placed in the scene. The content placed and composited onto any surface will be rendered in real time in the Workspace.
The Inspector shows and allows to modify all information and details about a currently selected object.